


We have prepared a complete tutorial that covers all of the features from the beginning to the advance level, that help you to get the maximum out of using CheckiO
The video covers the following core features:
- Solving Process
- Best Solutions
- Profile & Settings
- Solutions Search & Bookmarks
- Following other users
- Advance Editor
- CheckiO Client
Solving Process
Before we get started, I wanted to let you know that you should receive an email with the confirmation link. When confirming your email, you’ll be able to subscribe to different CheckiO notifications. I’ll show you later.
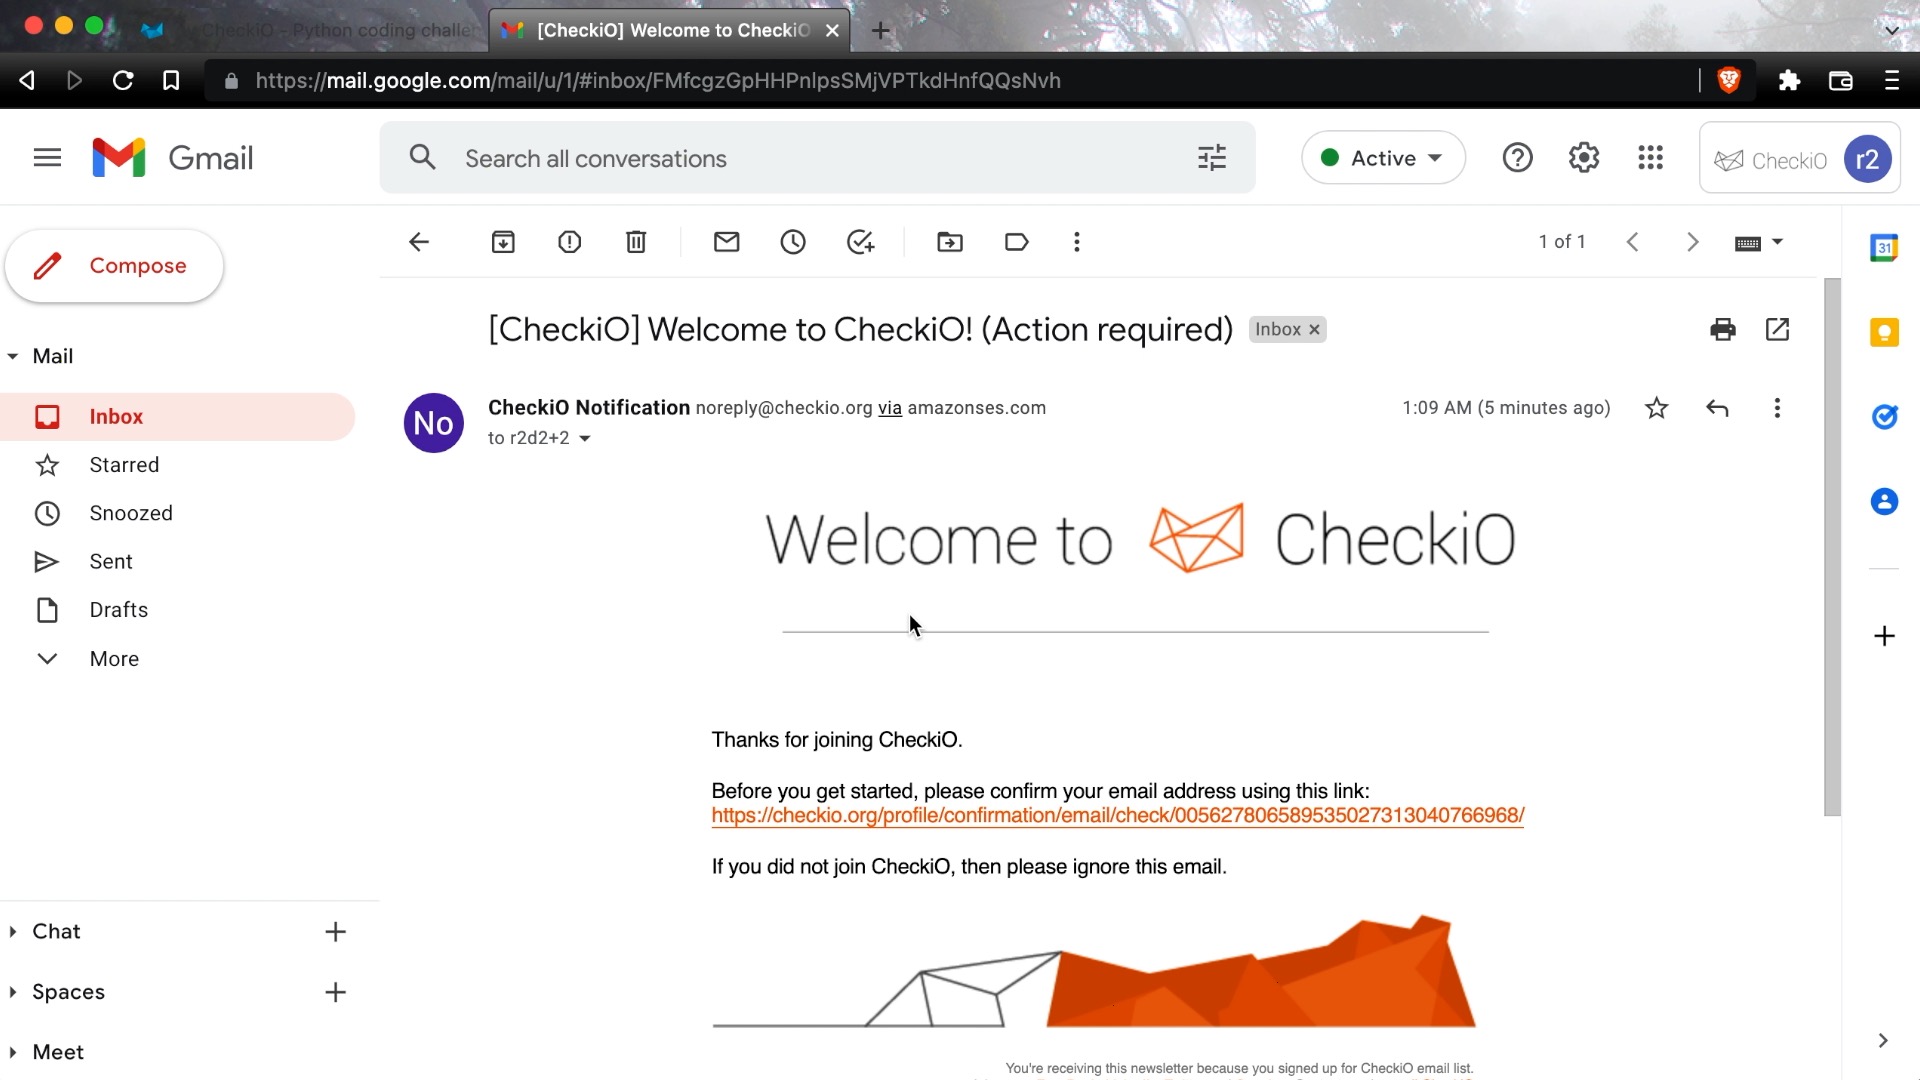
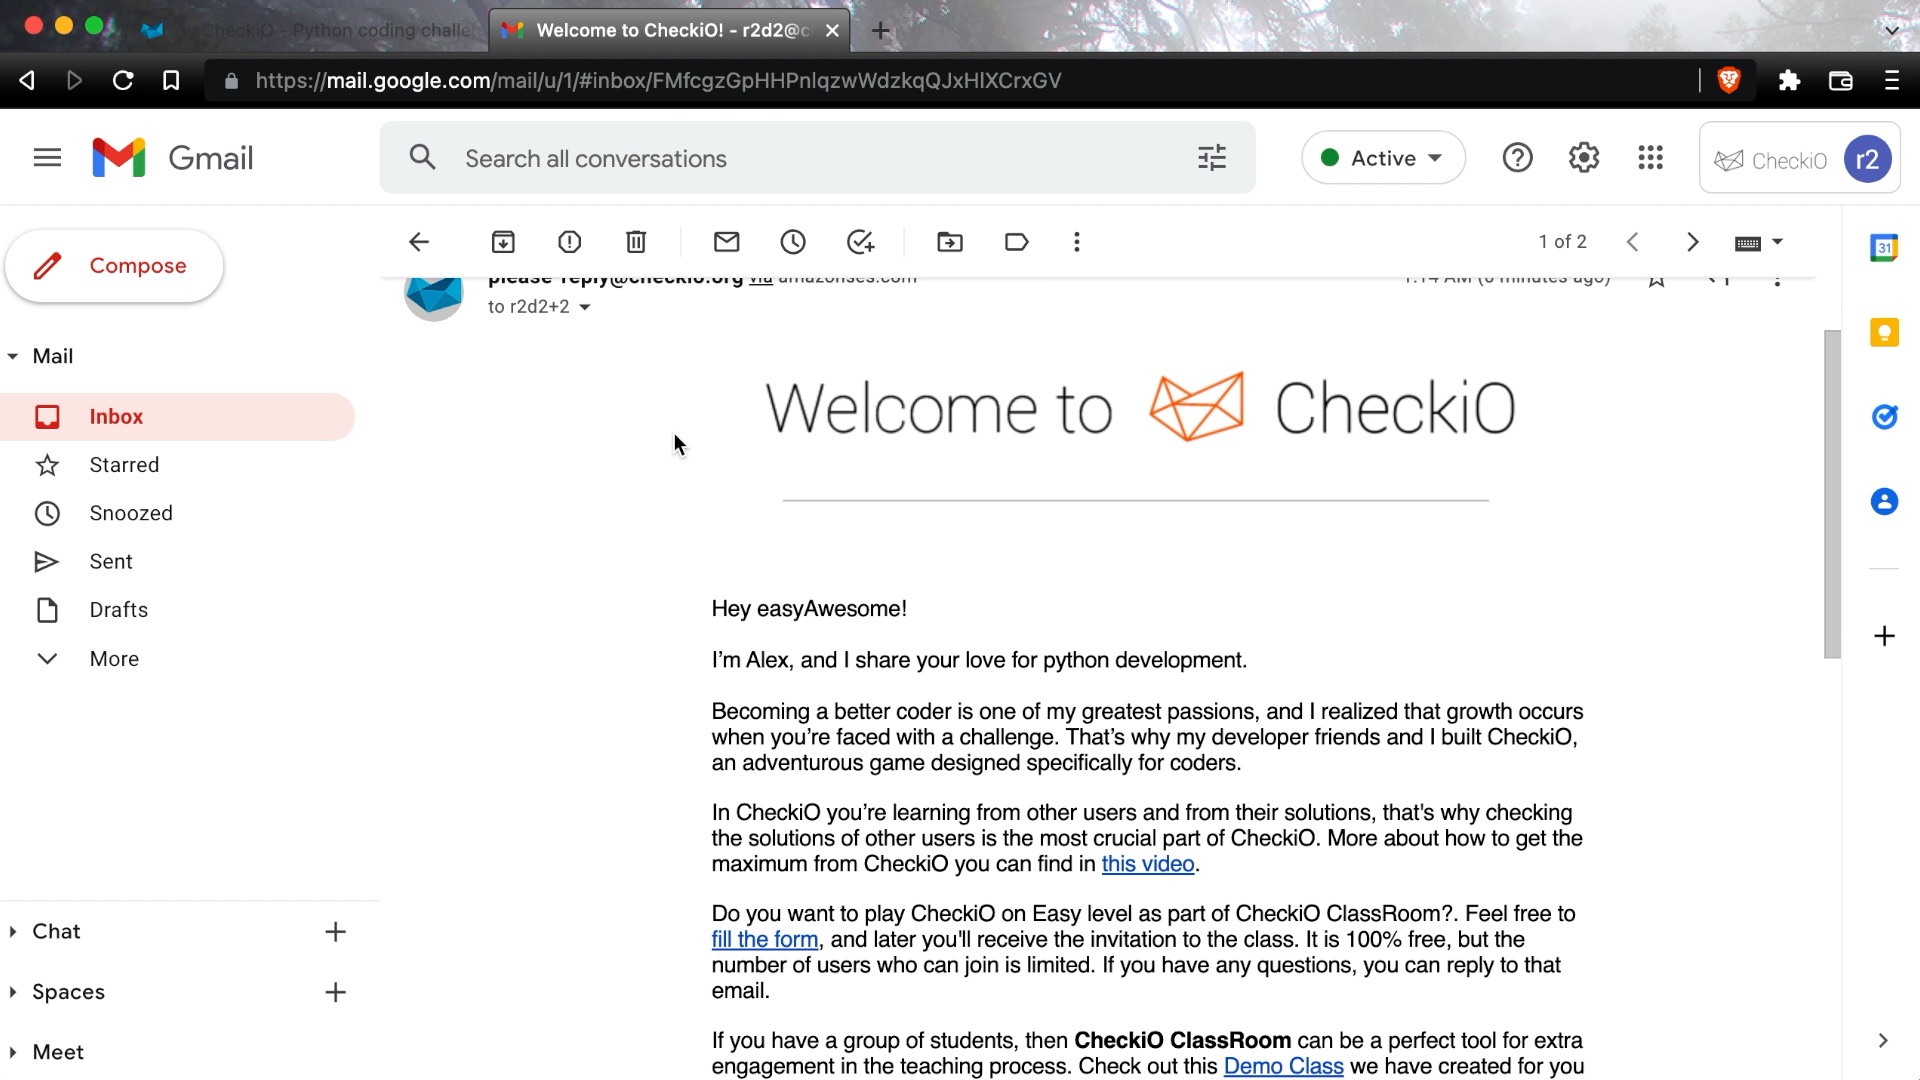
After the confirmation, you should receive your first Welcome Message from me. It contains a lot of essential CheckiO information, such short article you are reading right now, links to the free Python books, and so on. You may want to save that email for future reference.
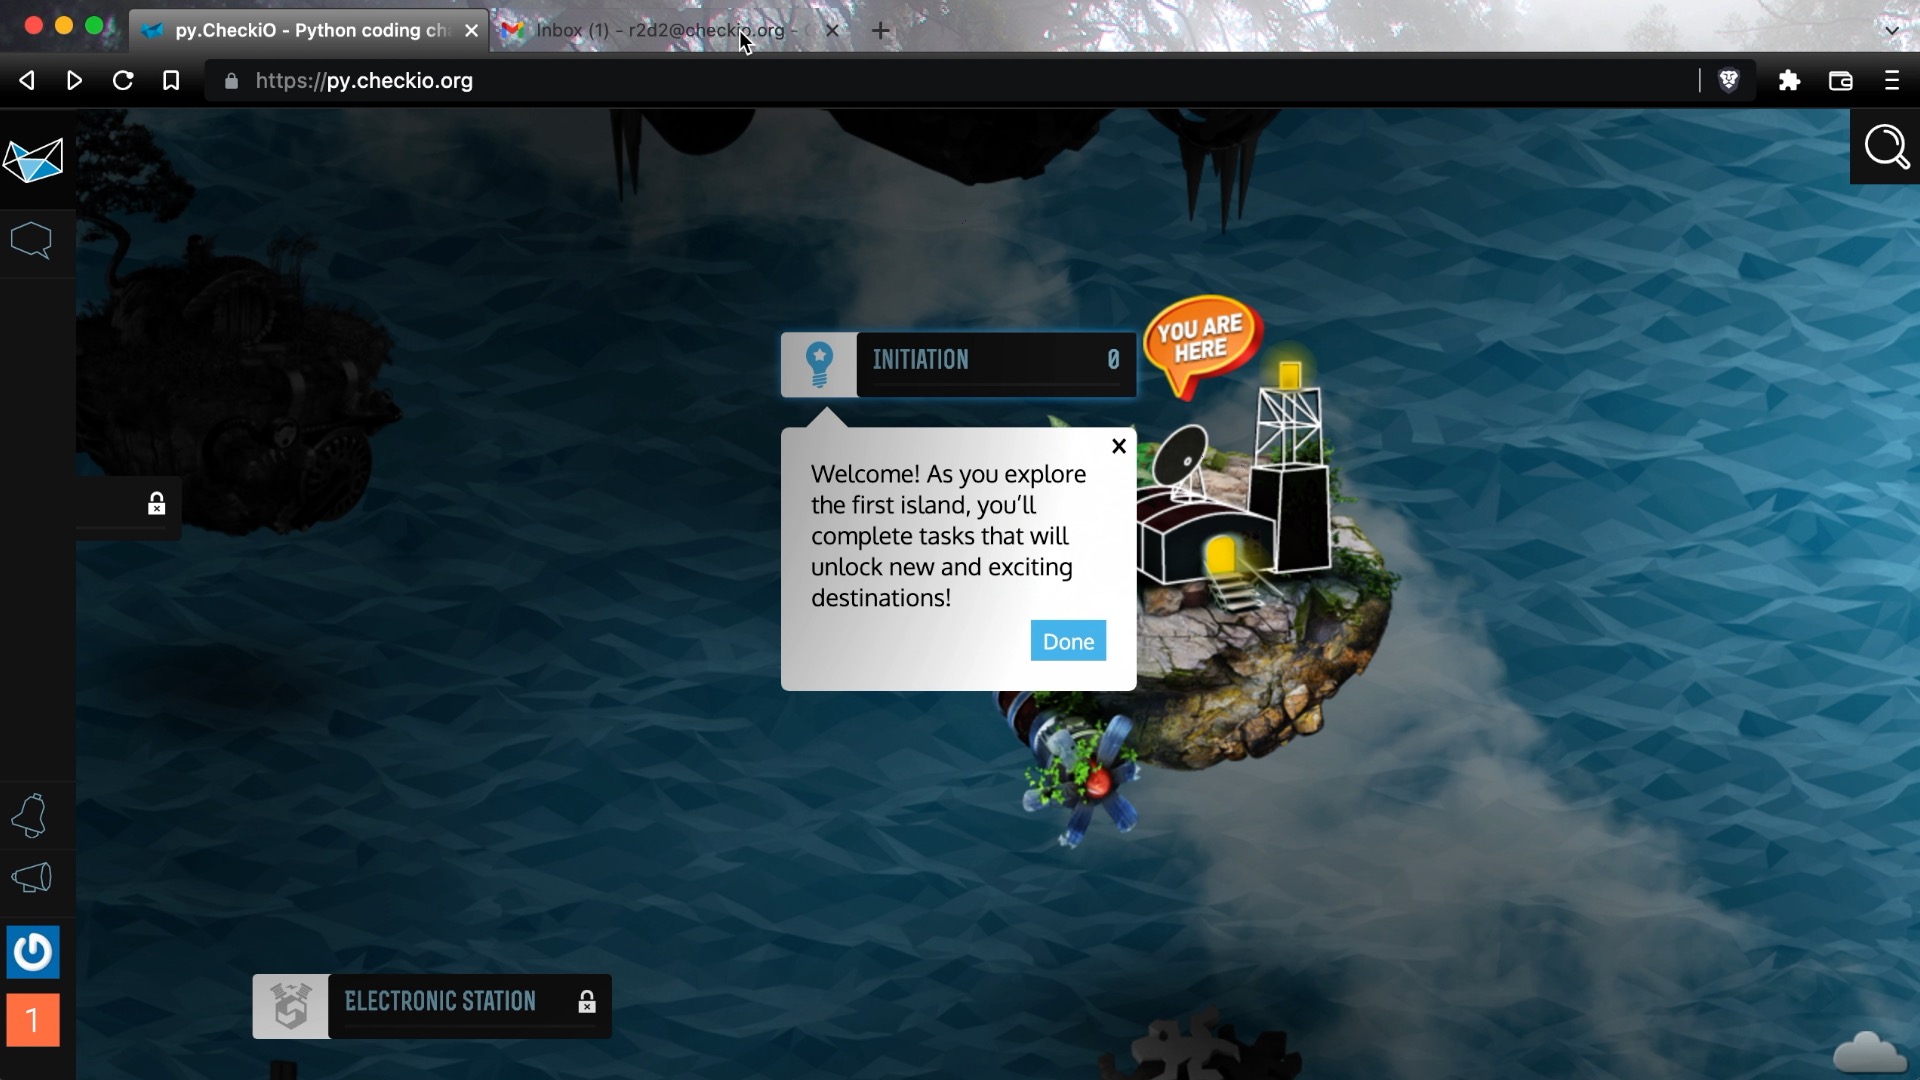
Now let's get back to the CheckiO. The landing page of CheckiO is a map with floating islands, each island contains a set of codding puzzles, which we call missions, and by solving those missions, you can get more and more islands opened.
Let's start with the first mission Multiply Intro. This mission aims to show you how the solving process works. But before we jump into it, I want to show you a small translation panel that helps you see the mission description in different languages. You can also set the chosen language as the default language.
Users of CheckiO create the translations. So if you didn't find a translation you want - feel free to provide it using GitHub repository of the mission.
I don't want to dive too deep into the process of improving the mission - You can simply check the article how to improve the mission", where you can find how to improve the mission description, tests, hints, and how to add mission translation.
Almost every mission on CheckiO requires writing a function that solves a given problem. For the Multiply mission, your goal is to create the function "mult_two", which multiplies two given arguments.
In the code editor, we already have predefined code, with an empty function. As you can see, it returns None but should return the correct answer.
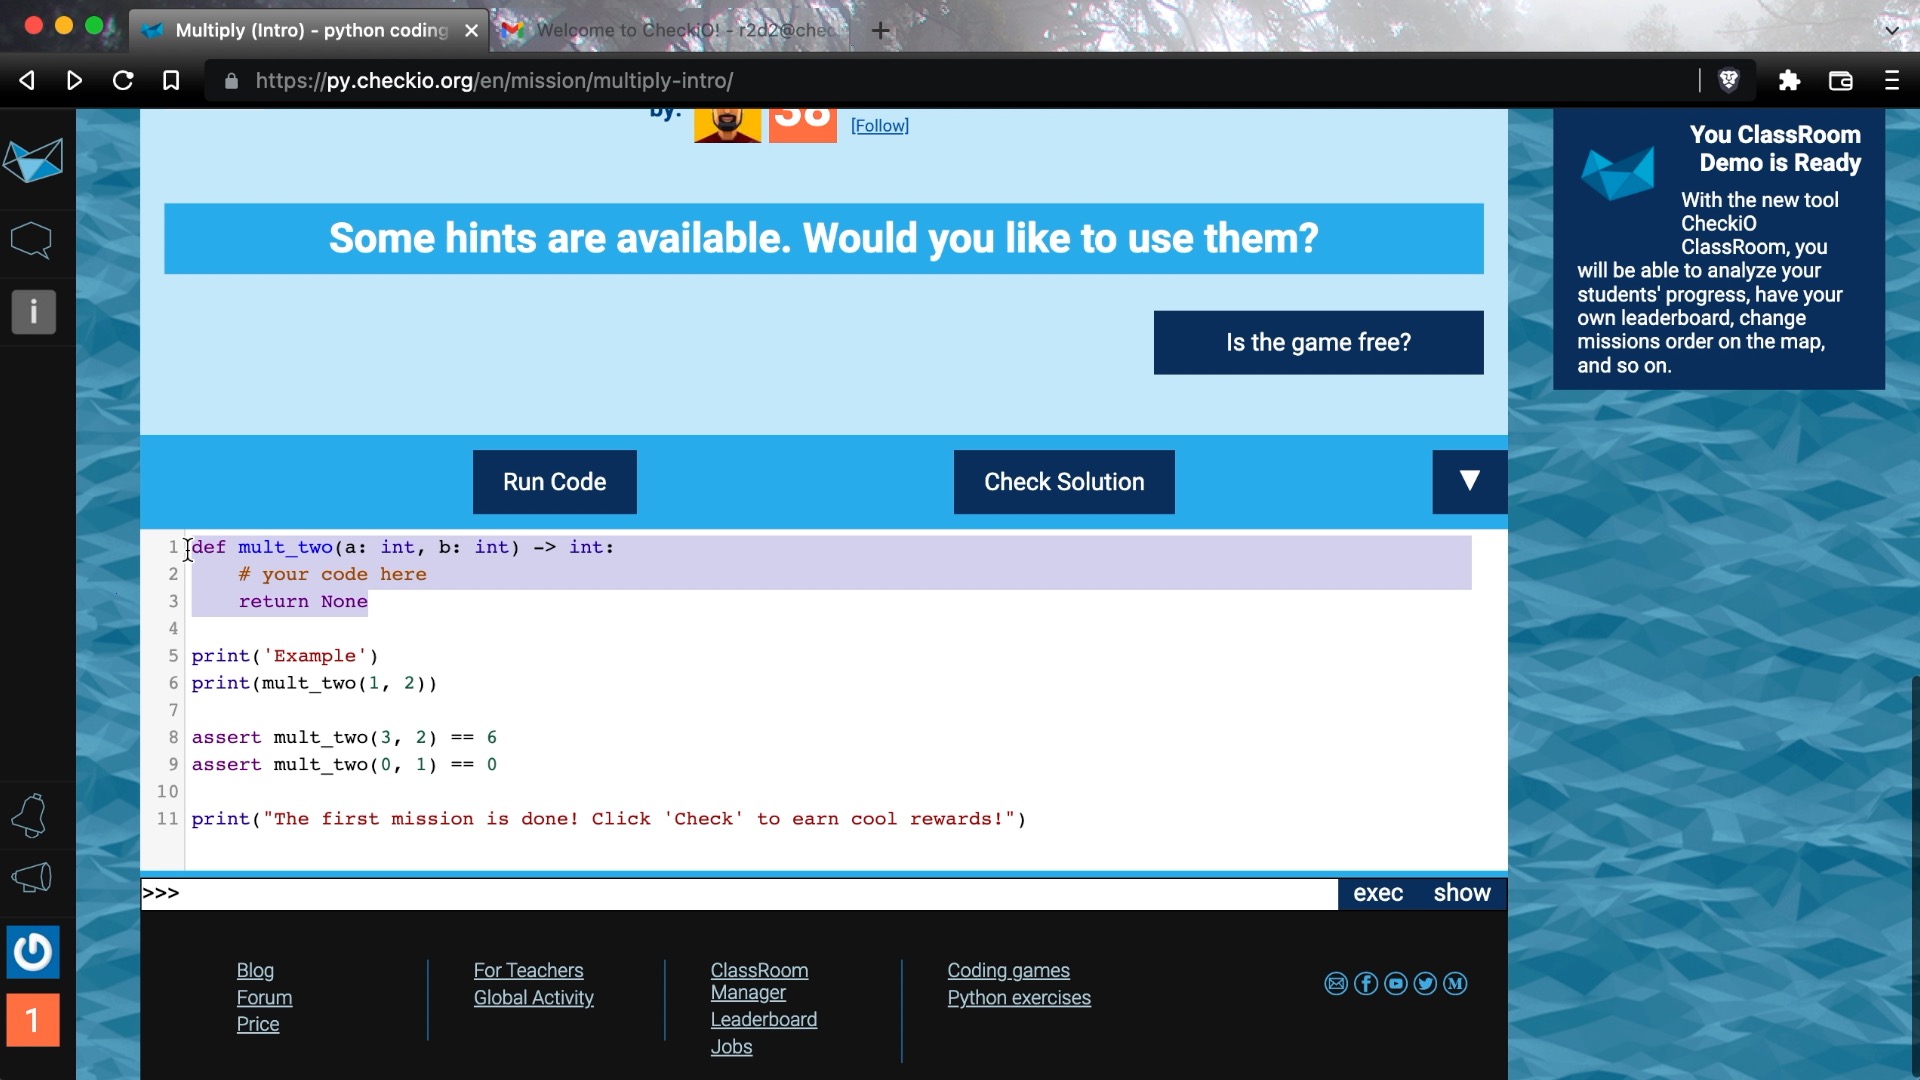
Some prints, so it will be easier to debug how your function works, and the set of asserts tests the returned value of your function for the given arguments.
You have two main buttons - “Run code” and “Check solution” - the first one shows the result of running, and with the second one system checks your solution with some extra-tests.
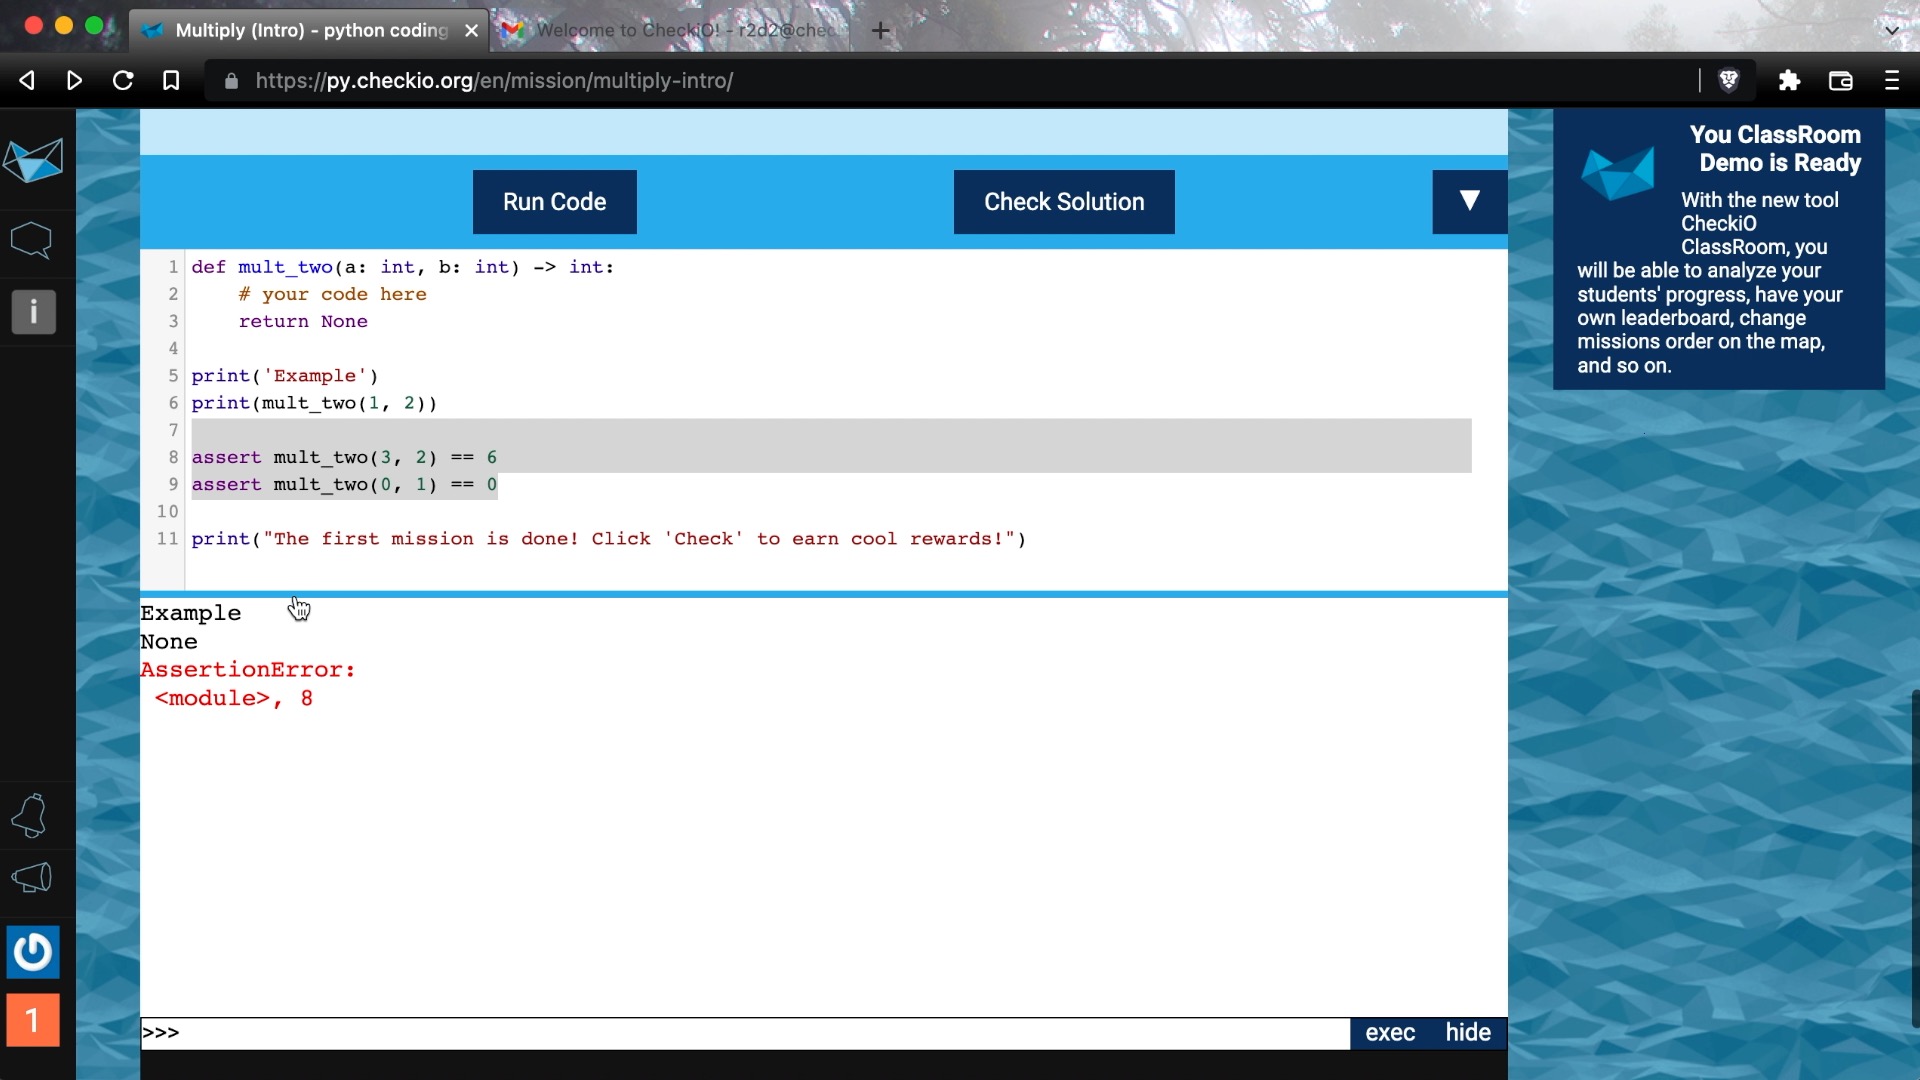
Let's see what run shows. The result of prints, and the first assert at line 8 - fails. Let's try to trick the mission and return 6, as the first assert requires. You see, now the second assert at line 9 fails. I hope that gives you a some understanding of how asserts work.
Now let's solve the mission. "Check Solution". Looks like it is correct. Right after success solving it scrolls you down to the best solutions from each category. Solutions from other users are the most beautiful part of CheckiO and you can learn a lot from those solutions.
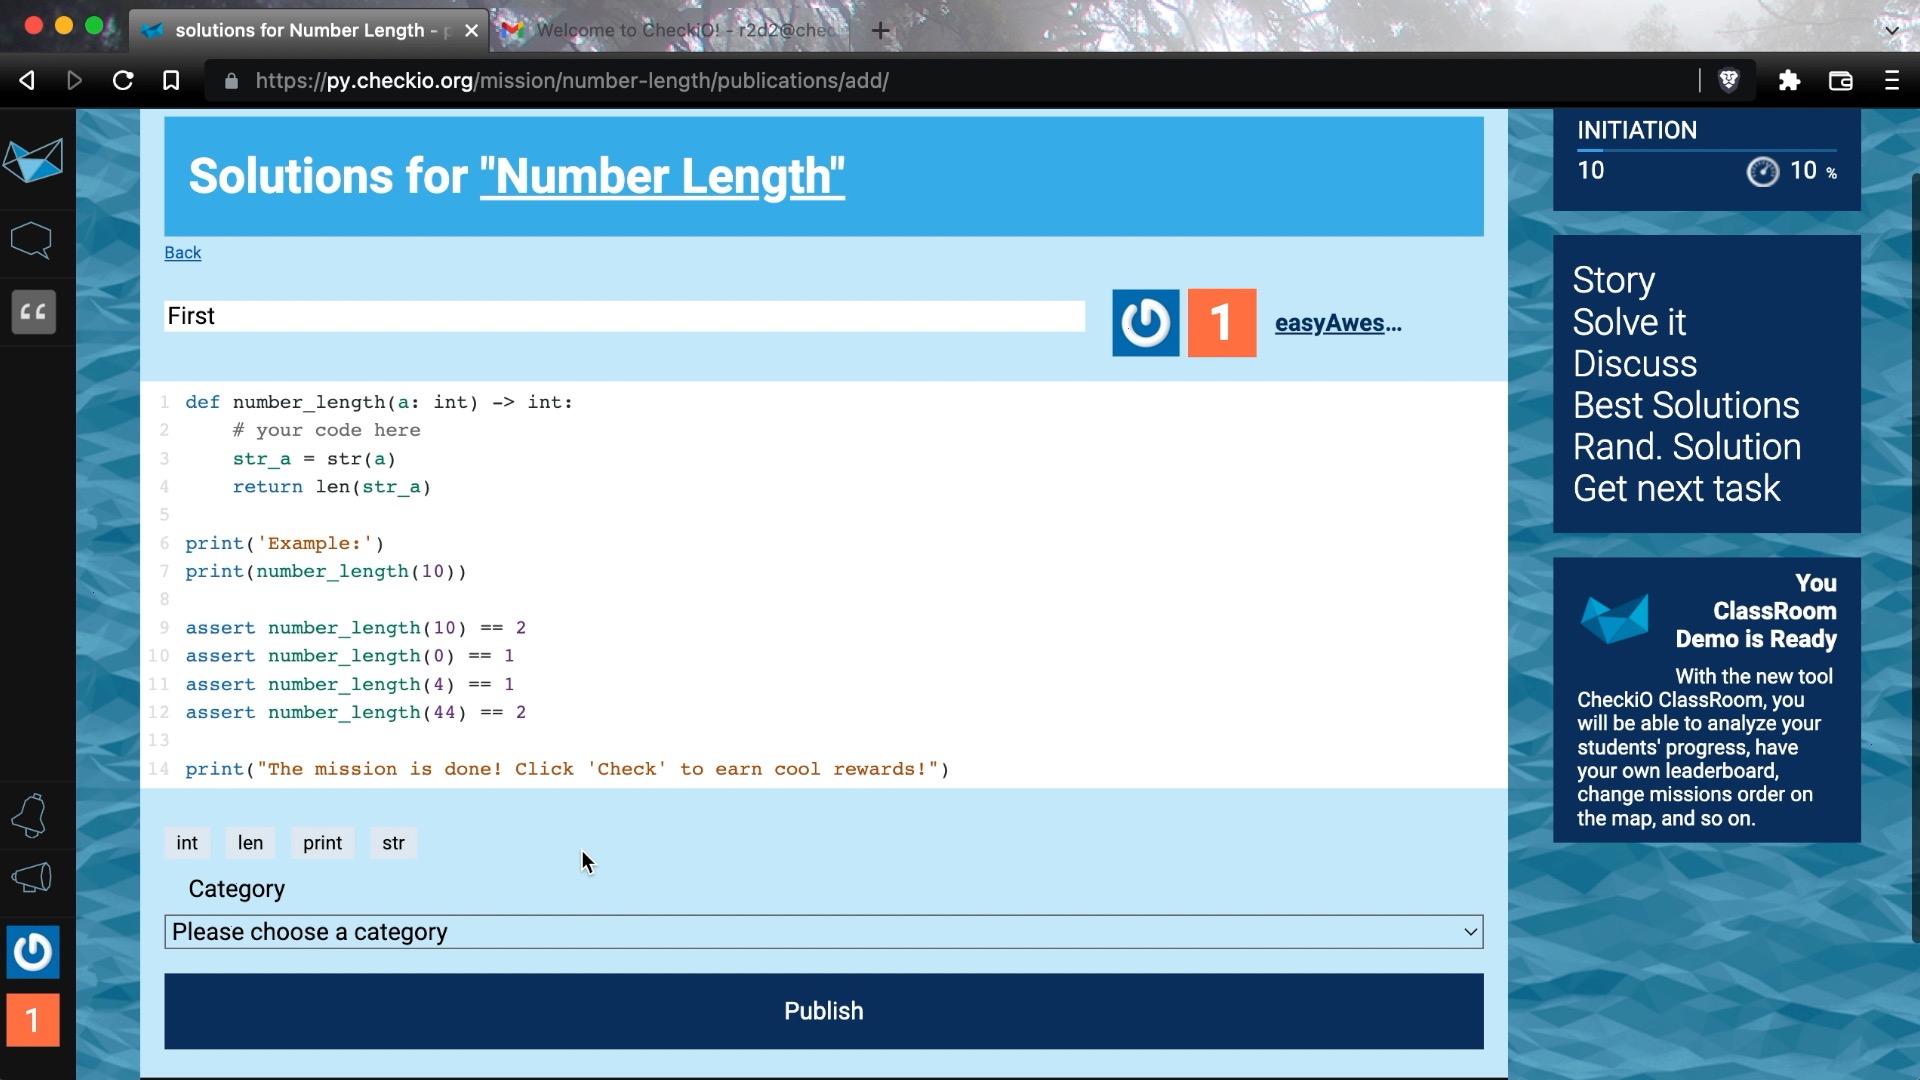
Our next mission is Number Length.
A sign before the mission description says that we have prepared an editor's choice solutions for you. That means that our editors chose the most unique and interesting solutions out of all submitted and put those solutions in the specific filter. Still, you will be able to change the filter and see all the available solutions.
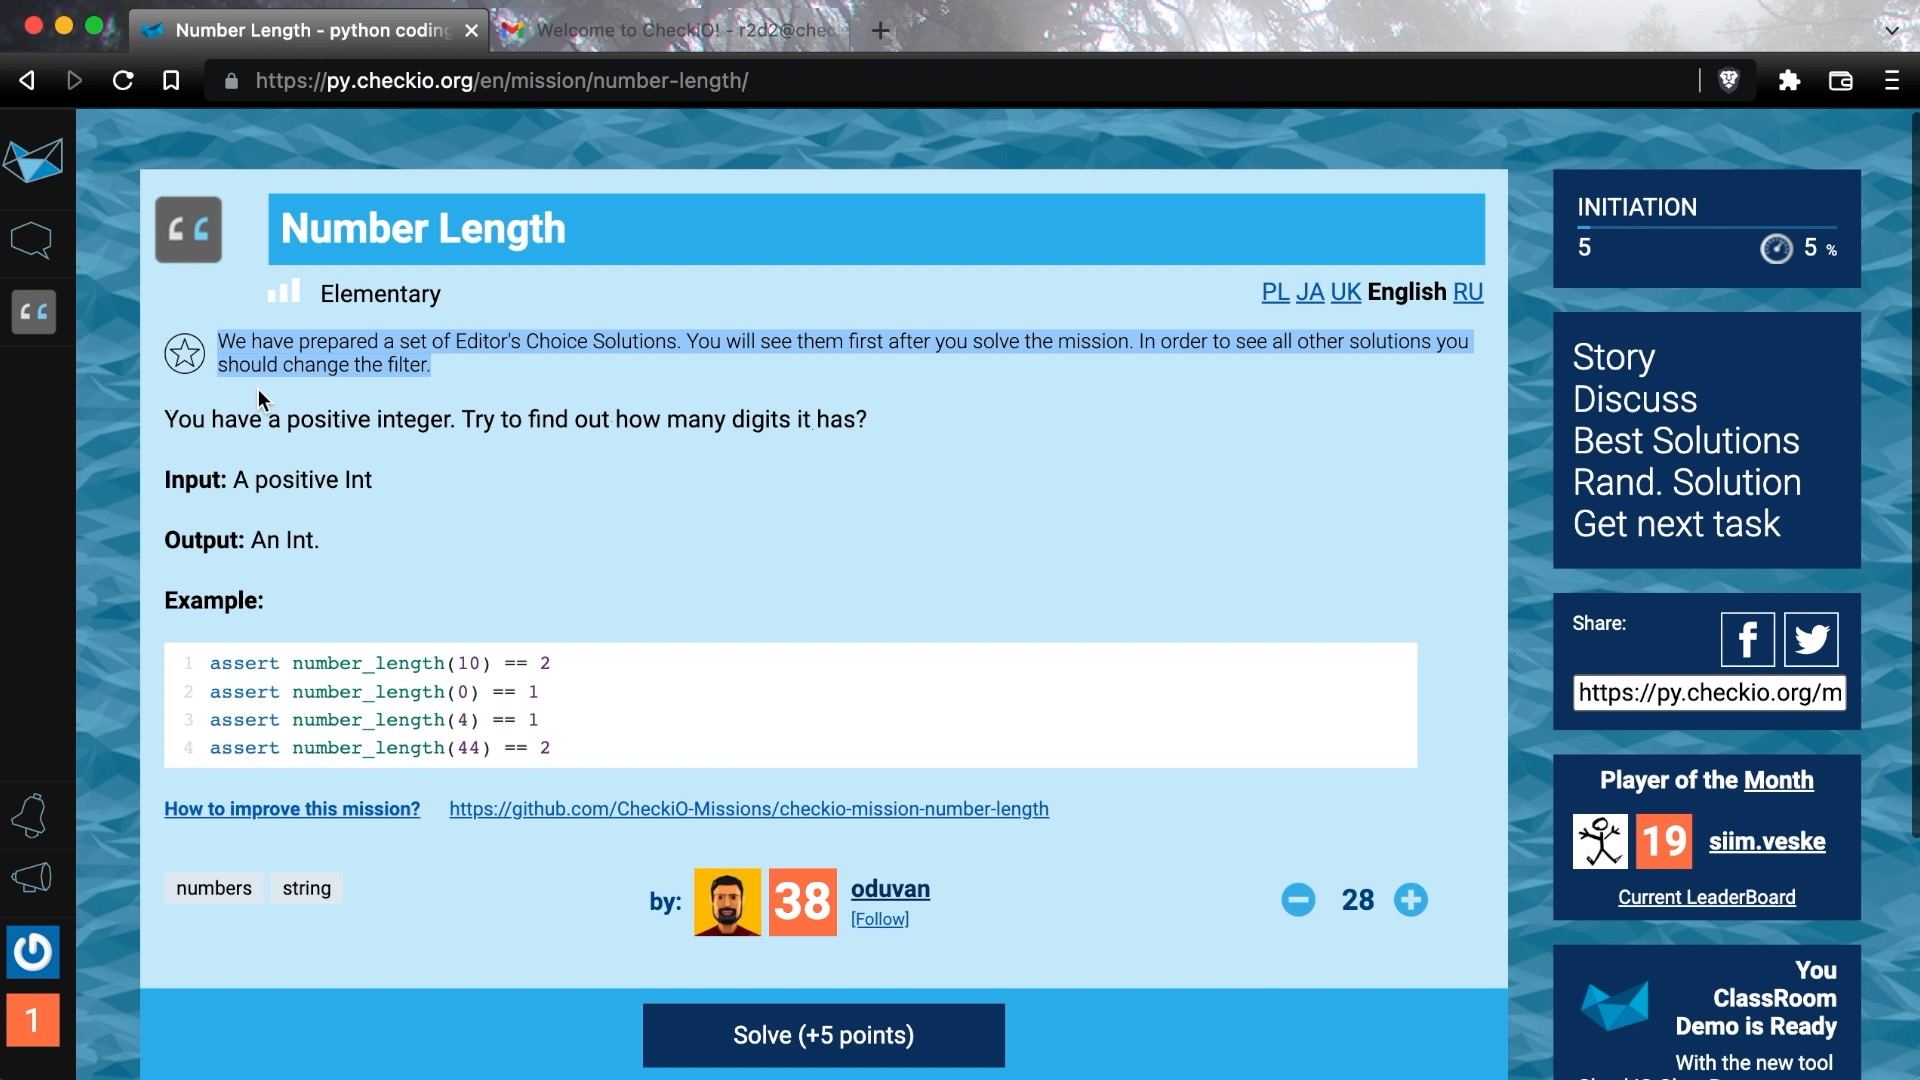
As you can see, the mission description is much shorted here. We should find the length of the given number.
For this mission, I also want you to show you how the hints work.
The hints are built progressively; one by one, we give you more and more ideas to get to the correct solution.
The first hint shows the general idea, the second is links, where you can find more information, the third one is direct links to the function you might want to use, and so on until the right solution.
We can share our own solution, even if it is that simple. Before sharing, you need to choose a category for sharing.
Best Solutions
After solving the mission, the system shows you the best solution from every category, but it is not all shared solutions. Let me show you the other solutions and some other functionality around those.
When you enter the category, it shows you editors chose solutions first, as was explained before.
But you can check other solutions by switching to the "All" filter. When you follow users on CheckiO, you can find their solutions and solutions they like under the links "Following" and "Likes by following" accordingly.
Every solution has tags. Tags show the most interesting keywords or functions that have been used for that solution, but if you click on any of the tags, you'll see that the search function will be available starting with level 2, which you are close to.
In the email we sent you, you can find a link to the available list of tools on each level. Level 2 - search tool. Level 3 - Activity, and so on.
So, you need Level 2 to get the search function. Let's check the profile page to see how far you are from level 2.
Profile & Settings
The profile page shows your level, how much experience you have right now, and how much is left to the next level. It looks like you have only 5 points left. It is basically one more mission to solve.
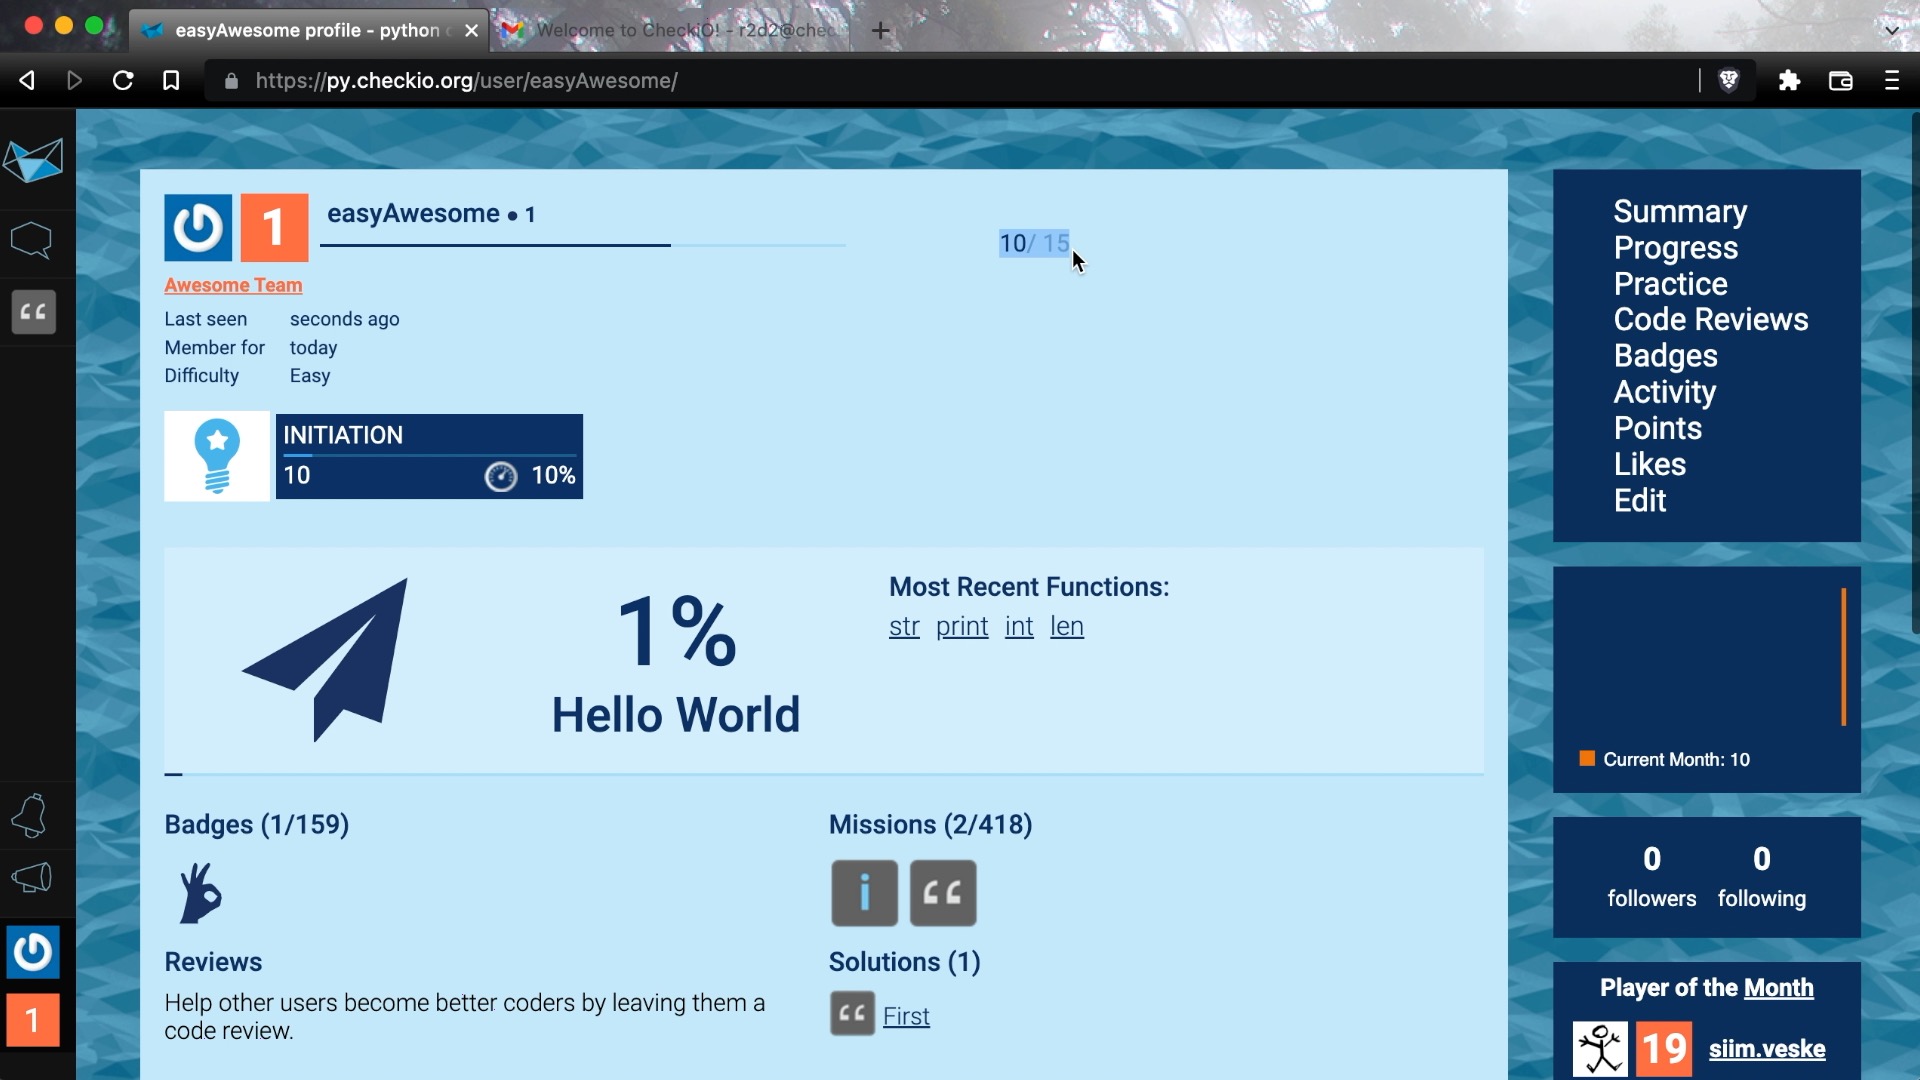
But while you are here, let me show you what you can find in your profile, as well as in the profiles of other users.
After the level, we see some self-describing general information, opened islands, your progress in using python, means - which parts of python have been used in your shared solutions. If you click on that percentage, you can see all the keywords we track and what you should do to get to the next stage.
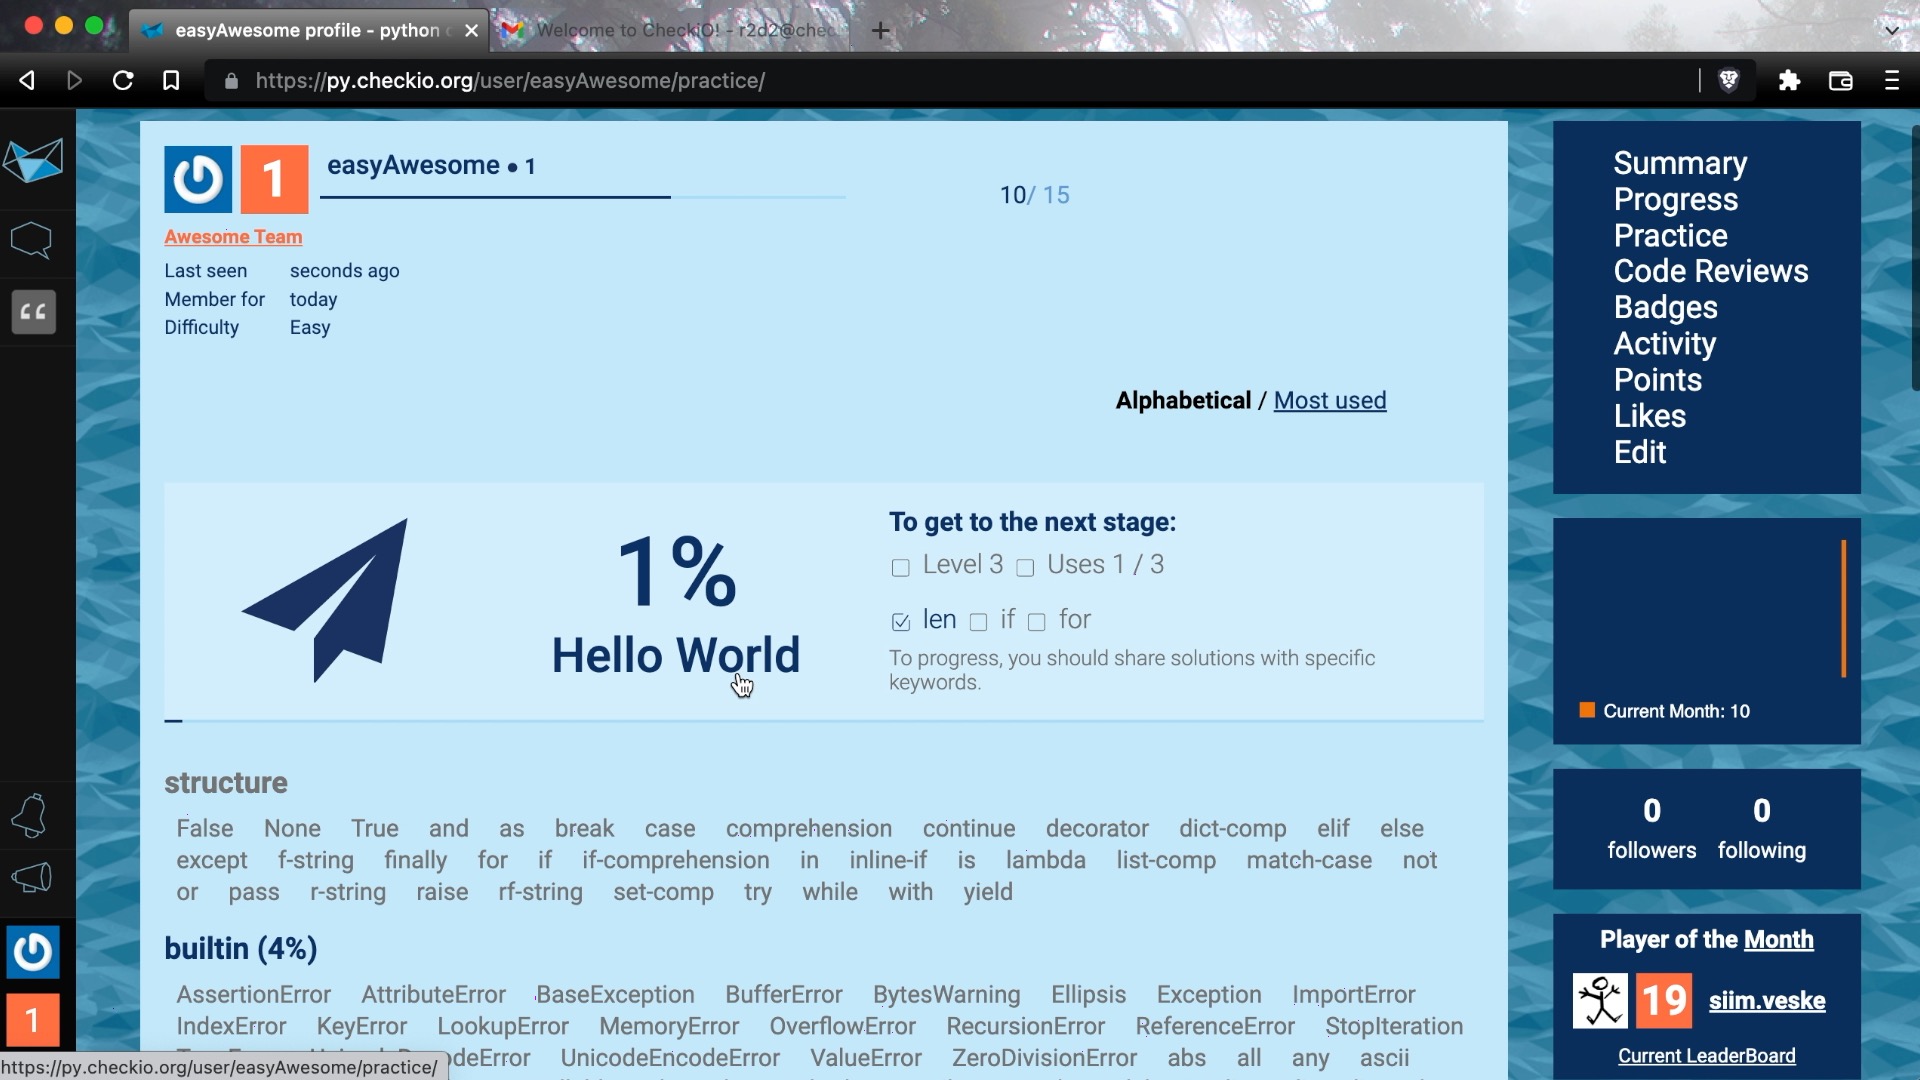
The slight limitation we have here is that we can track only keywords from your shared solutions. So if you want to progress here, you need to share more of your solutions.
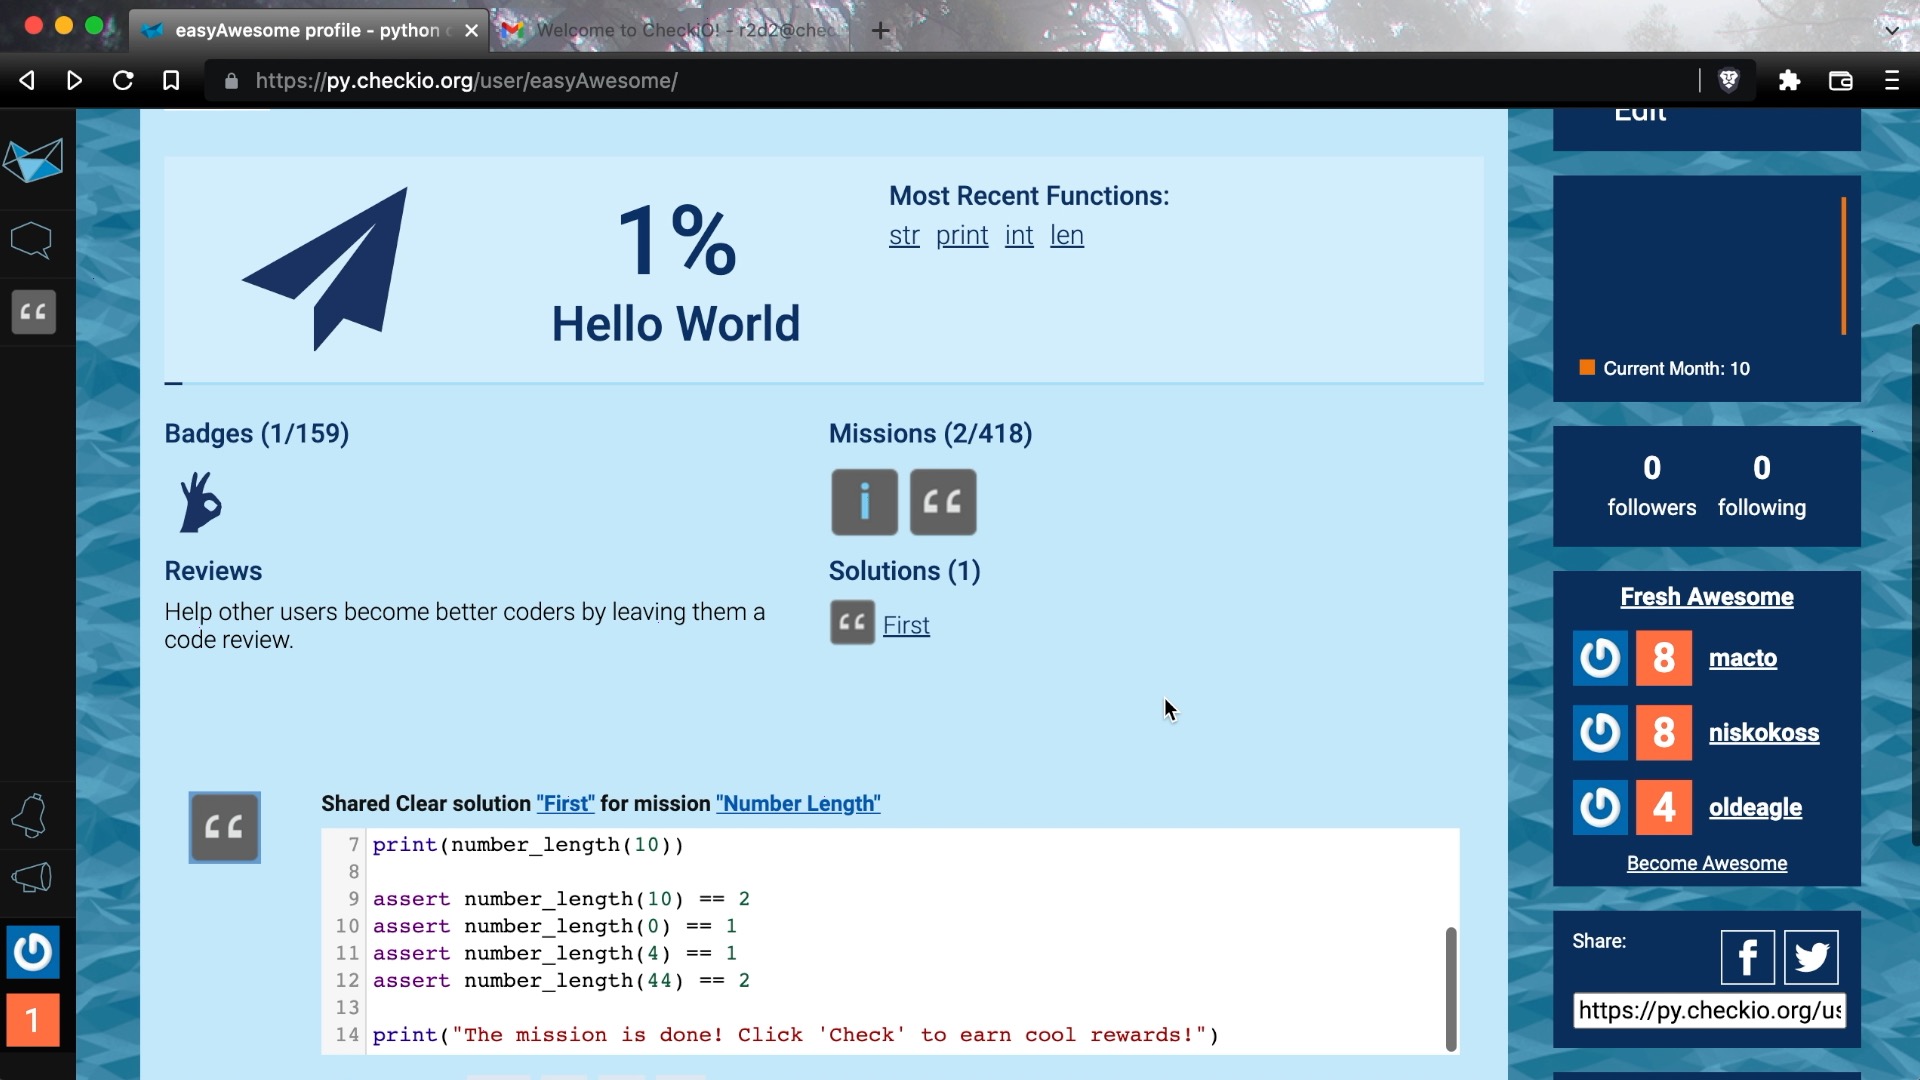
Let's get back. Badges, of course. Missions you have solved, solutions you have shared, and your timeline. At the right side, you can find the graph of your progress in the game and direct links to the described sections in profiles, but we also have bookmarks for the solutions you don't want to lose, points, to show where you get points in the game, and edit, to change your profile.
Let’s check the edit page.
“API Code” is for CheckiO client configuration, which I'll show later. We've demonstrated Default Mission Language at the beginning. Your chosen difficulty. By the way the difficulty changes the order of the missions, but all of the missions will still be on the map.
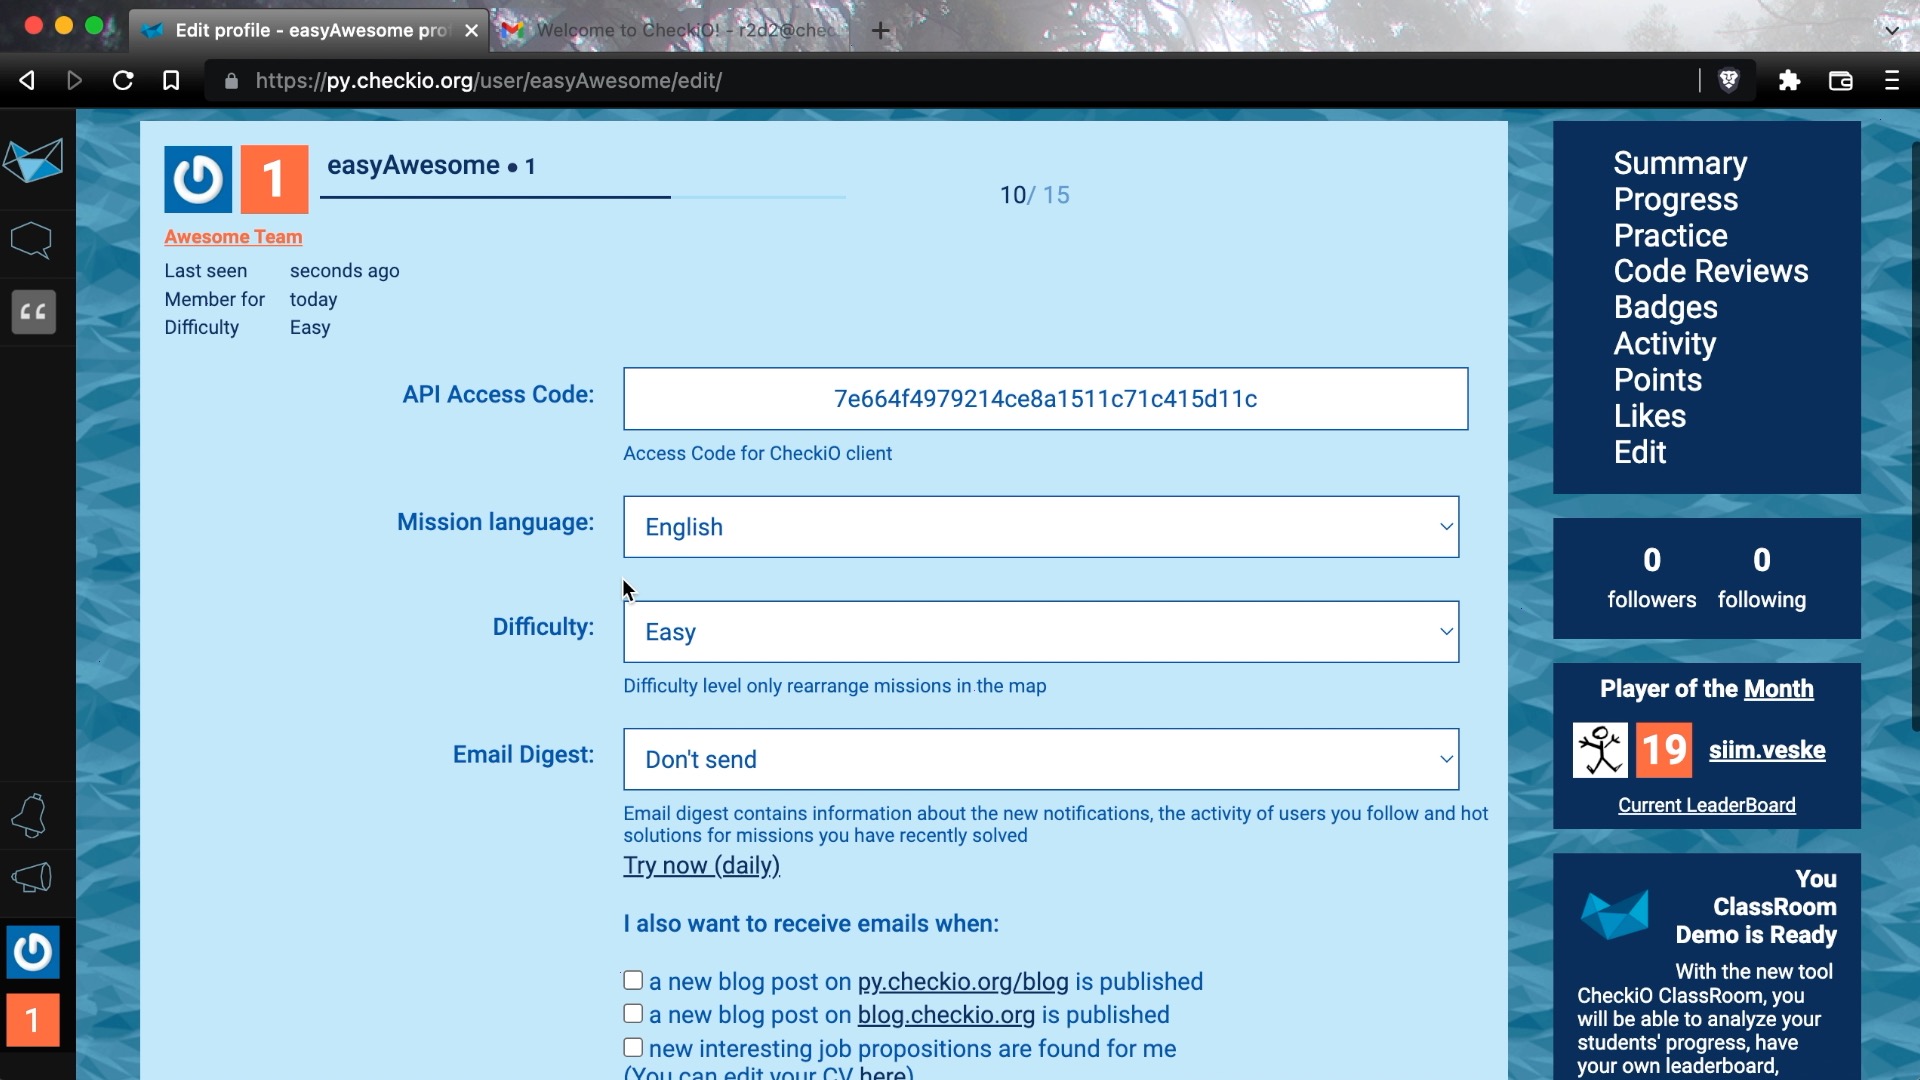
Email Digest - you can subscribe to receive all of the new notifications and activities for the past week or the past day.
A group of notifications you can receive directly on your email.
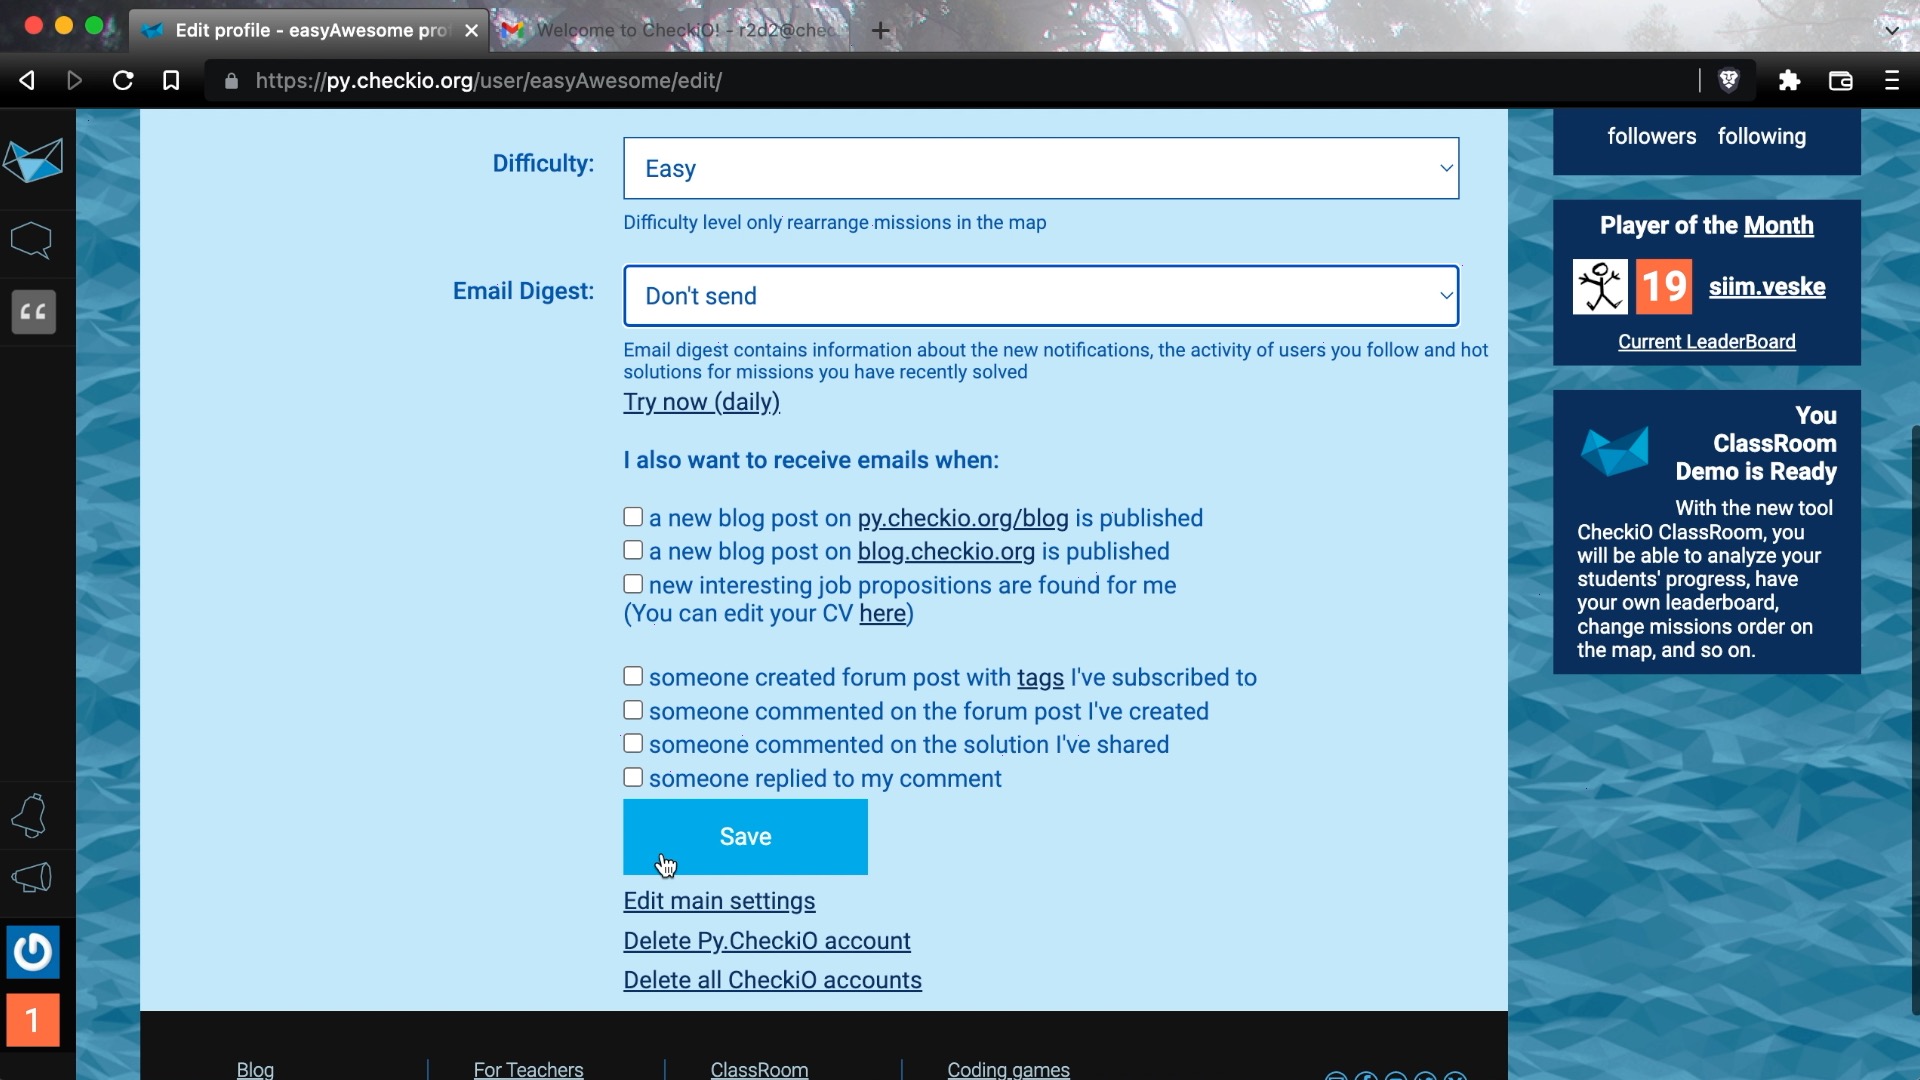
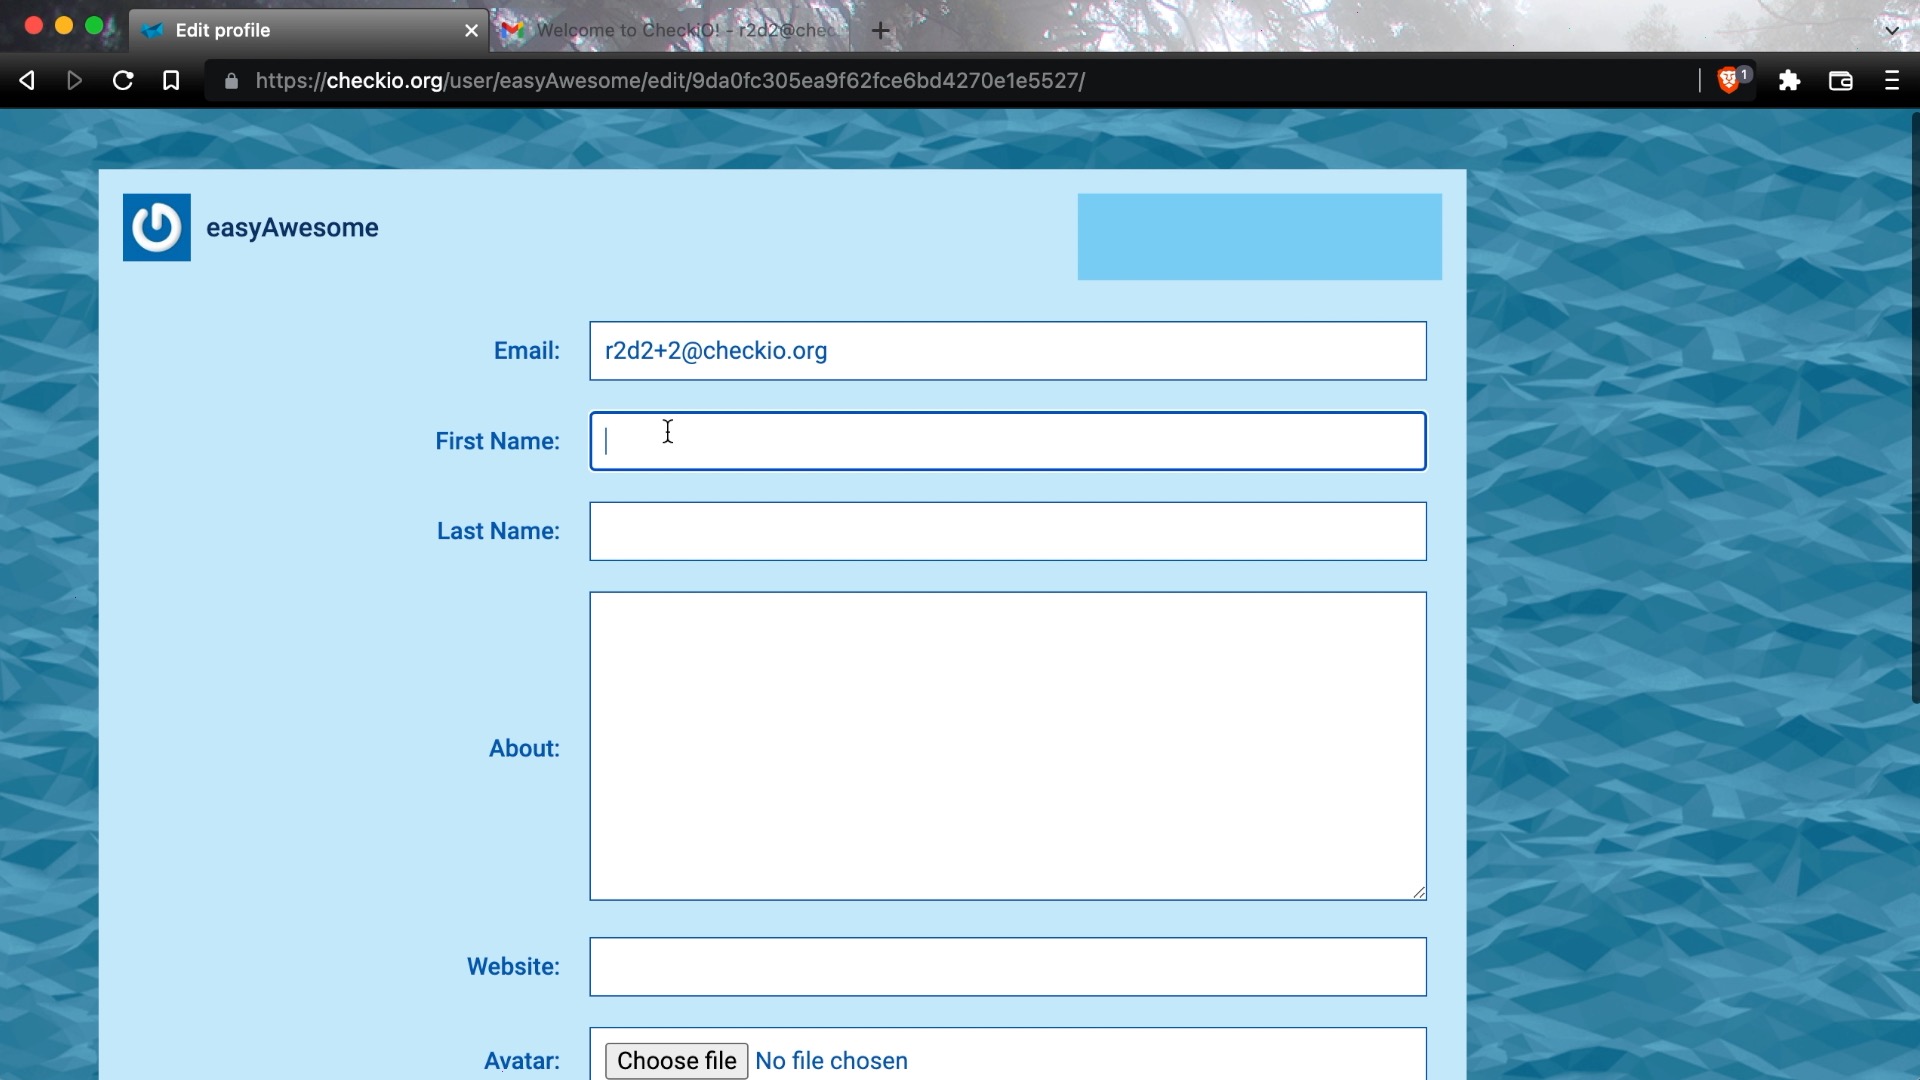
Also, there is the main setting where you can change personal information about yourself.
Solutions Search & Bookmarks
After solving one more mission you will get to the next level and will be able to use search function. For example, if you find a solution with lambda and want to find other solutions with lambda. It will show you those solutions, but you are always limited with solutions you can access.
The more missions you solve, the more solutions you have access to.
You can also add an extra filter to show only solutions from the current mission.
You can bookmark some of those so that you can find those solutions in the bookmark section of your profile or in the left menu. I usually bookmark interesting solutions that are unclear yet, but I want to look at those closely later.
Just in case, you can also find the search function as well as bookmarks at the left menu.
That should be it, that the learning circle on CheckiO. You solve the mission and learn from the solutions of others.
Following other users
Following other coders is one more thing you want to have on CheckiO that definitely improves your learning curve. Let’s say you like someone's solution. You like the style. You may want to follow that user as you follow users on Twitter.
Now, when you solve the mission, you can see all of the solutions from coders you follow and solutions they like.
Starting from level 3, you have an activity page available, which allows you to see the aggregated timeline of all the users you follow.

So I strongly recommend following other users, which would help you find some hidden diamonds on CheckiO.
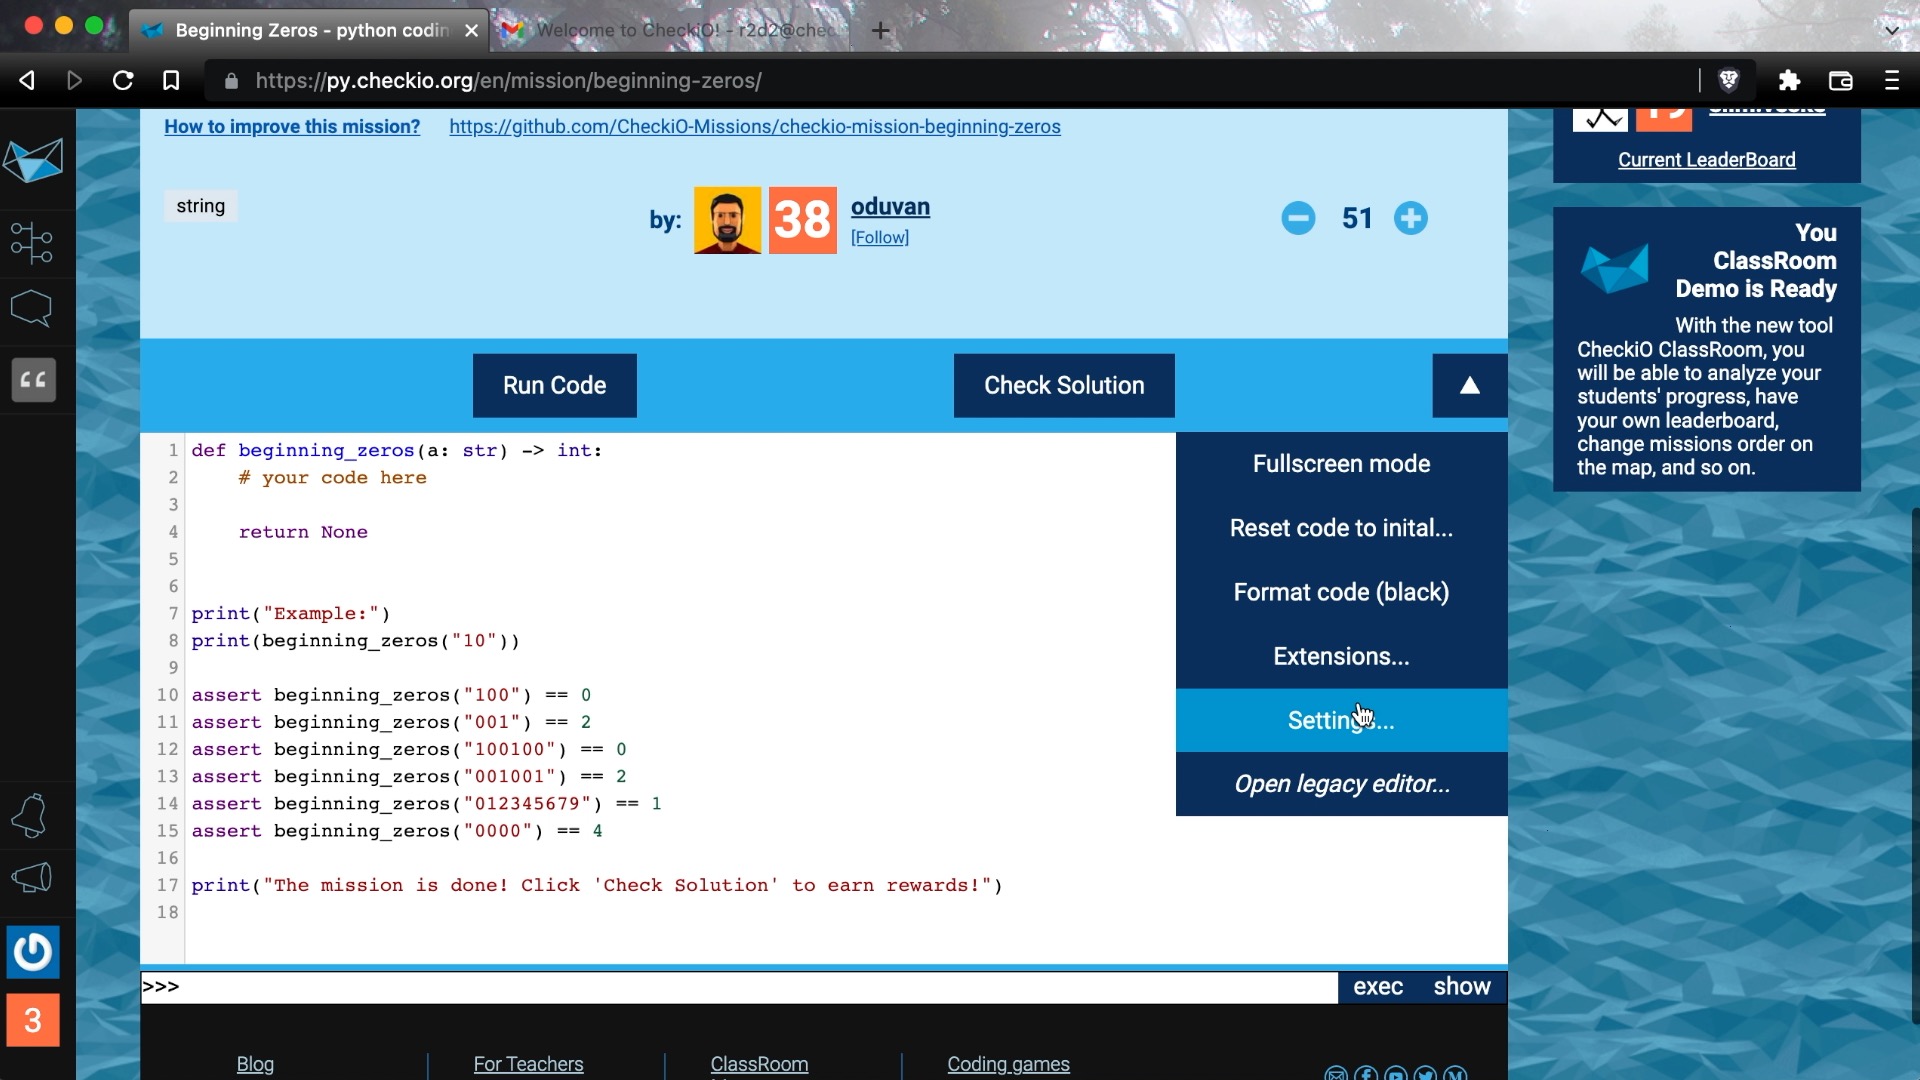
Editor
As a bonus track, I also want to show you some of the features of CheckiO editor.
On the panel with Run and Check, you can find a sub-menu.
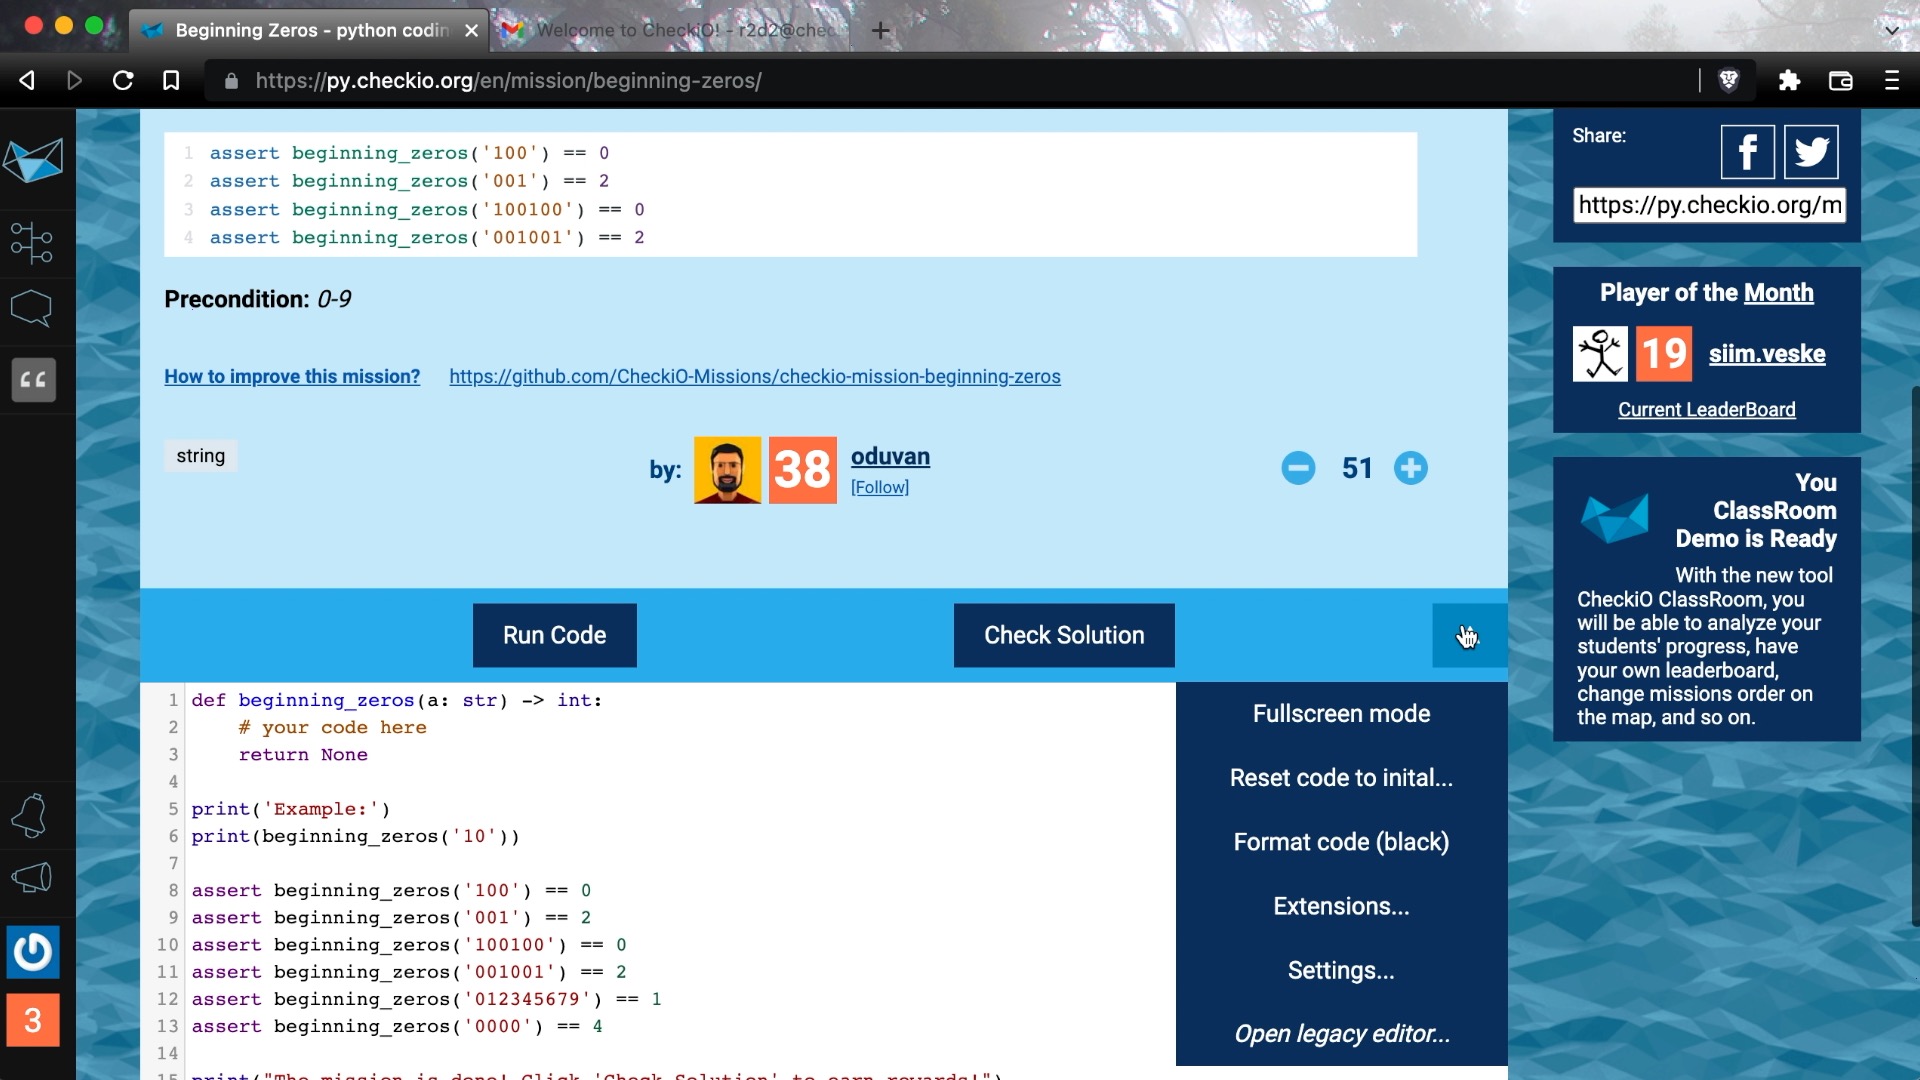
You can switch to the full-screen mode of your editor in case you need more space, and you don't want to be destructed.
You can reset your code to initial if your solution goes wrong way too far and you want to start from scratch.
You can format your code before sharing the solution. Let's make it a little bit dirtier and see what happens when we format it. Now the the code looks much better to read. Isn't it handy?
The settings.
You can change the color scheme of your editor. I'm more fun of the dark version.

For the code section, everything is self-describing, auto-close brackets and quotes, and highlighting the same word. Highlighting words can be helpful to see the same variable used in the code.
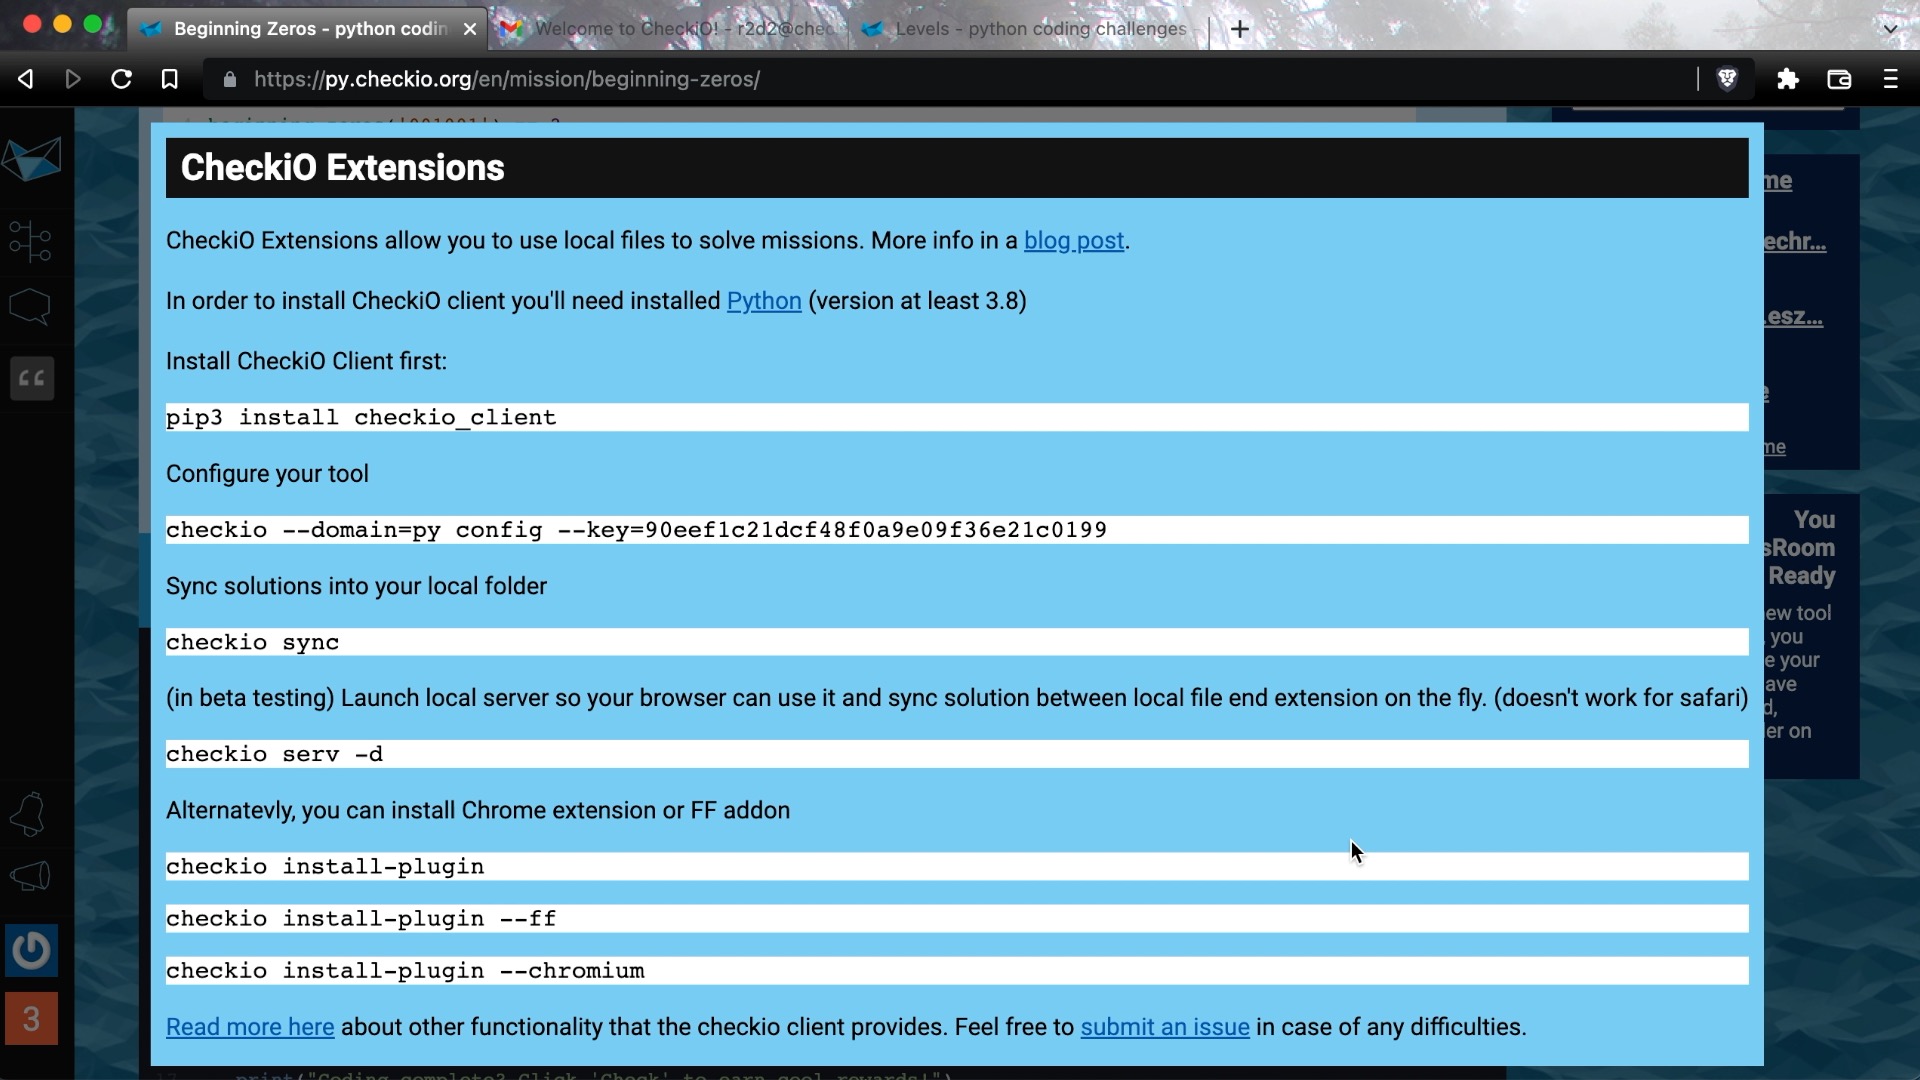
CheckiO Client
And the last option I wanted to show you is extensions. The extensions section explains to you how to install the Checkio client - the tool allows you to solve CheckiO problems locally without even using a web editor.
Let me show you how that works. I assume I have Python installed locally at least version 3.8. First, I prepare a virtual environment for the client. Technically you might want to use a global environment, but I prefer a virtual environment for my experiments.
python3.8 -mvirtualenv checkio_env
source checkio_env/bin/active
Now we can copy commands from the extension description.
Installation of the client.
pip3 install checkio_client
Authorization and configuration.
checkio --domain=py config --key=YOURKEYHERE
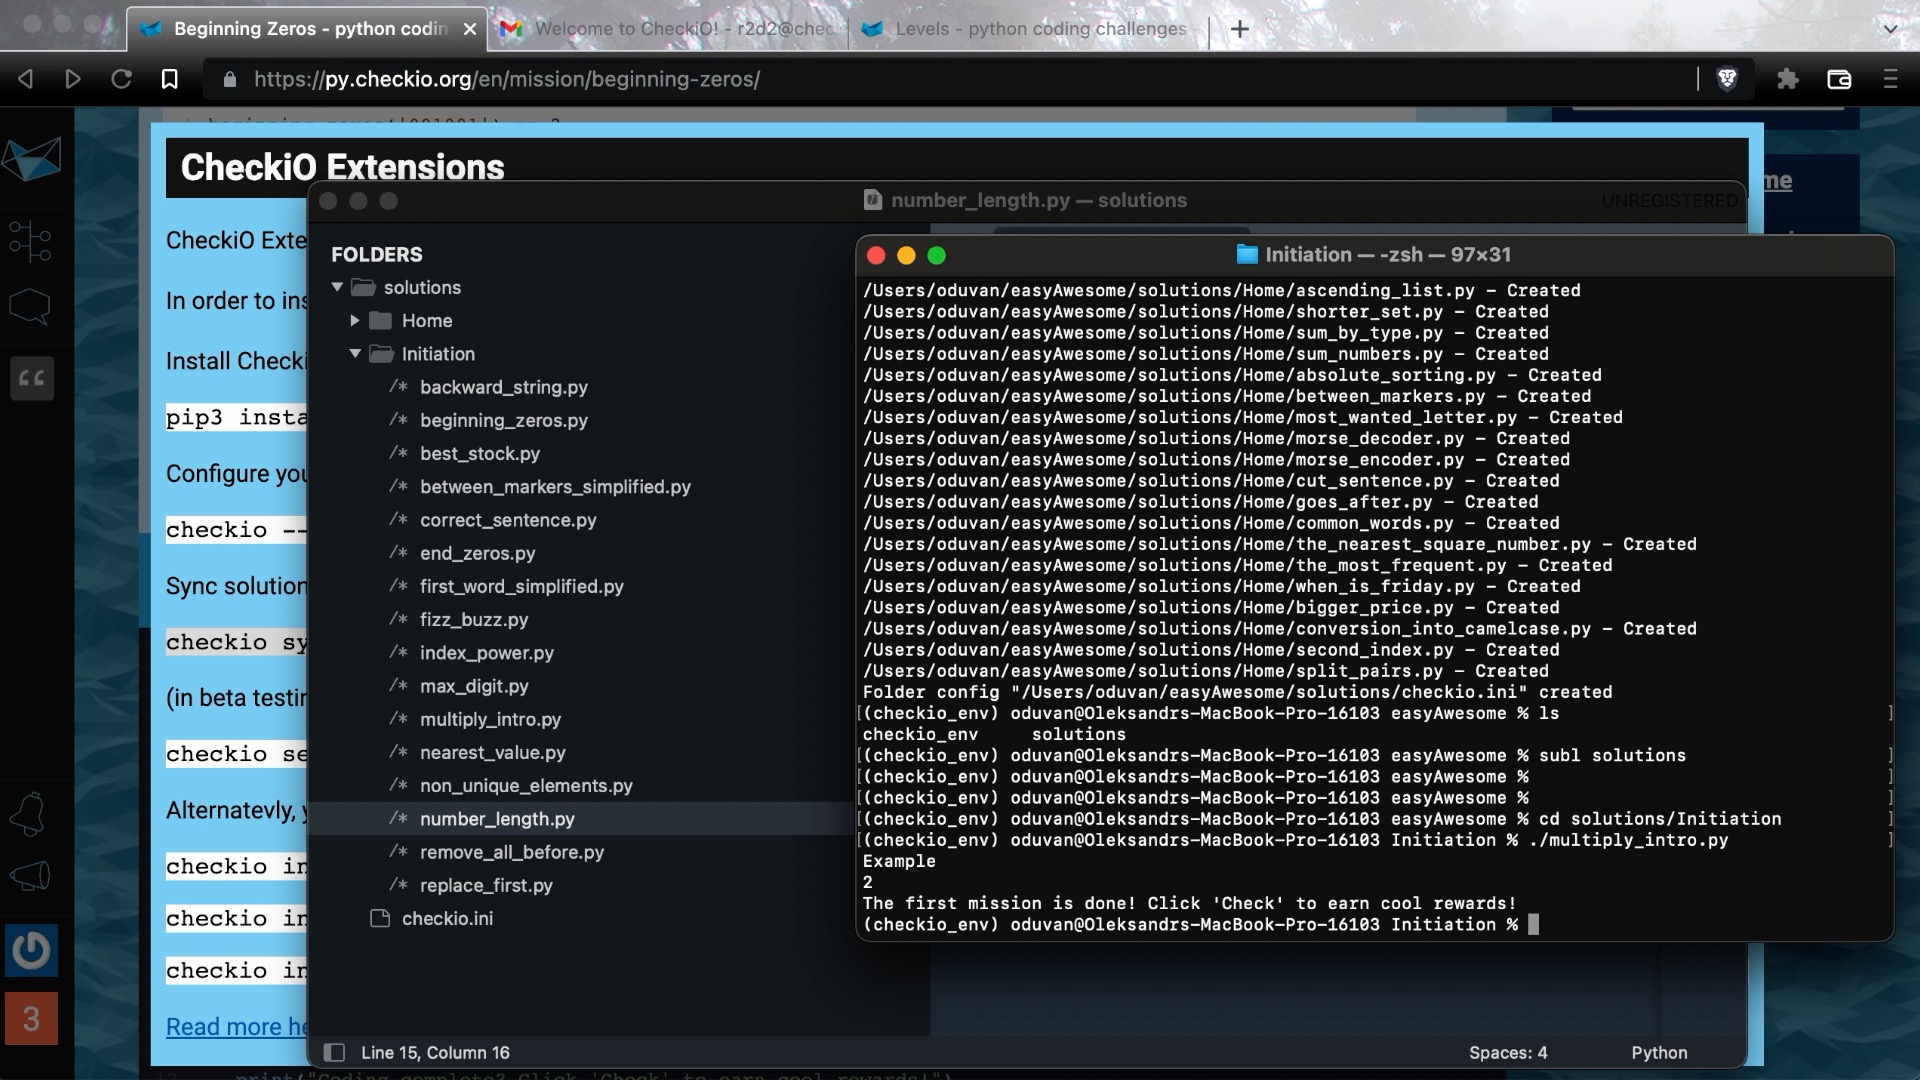
During the configuration process, you will be asked about the folder where the solutions are stored. It is important to choose an empty or new folder for that.
After configuration, we can sync the solutions. Now you can see that all the solutions are in the chosen folder.
checkio sync
Let’s open the folder in the code editor. As you can see the description is in the file with solution. So you can read and solve even without opening CheckiO. You can run and check your solutions locally in different ways.
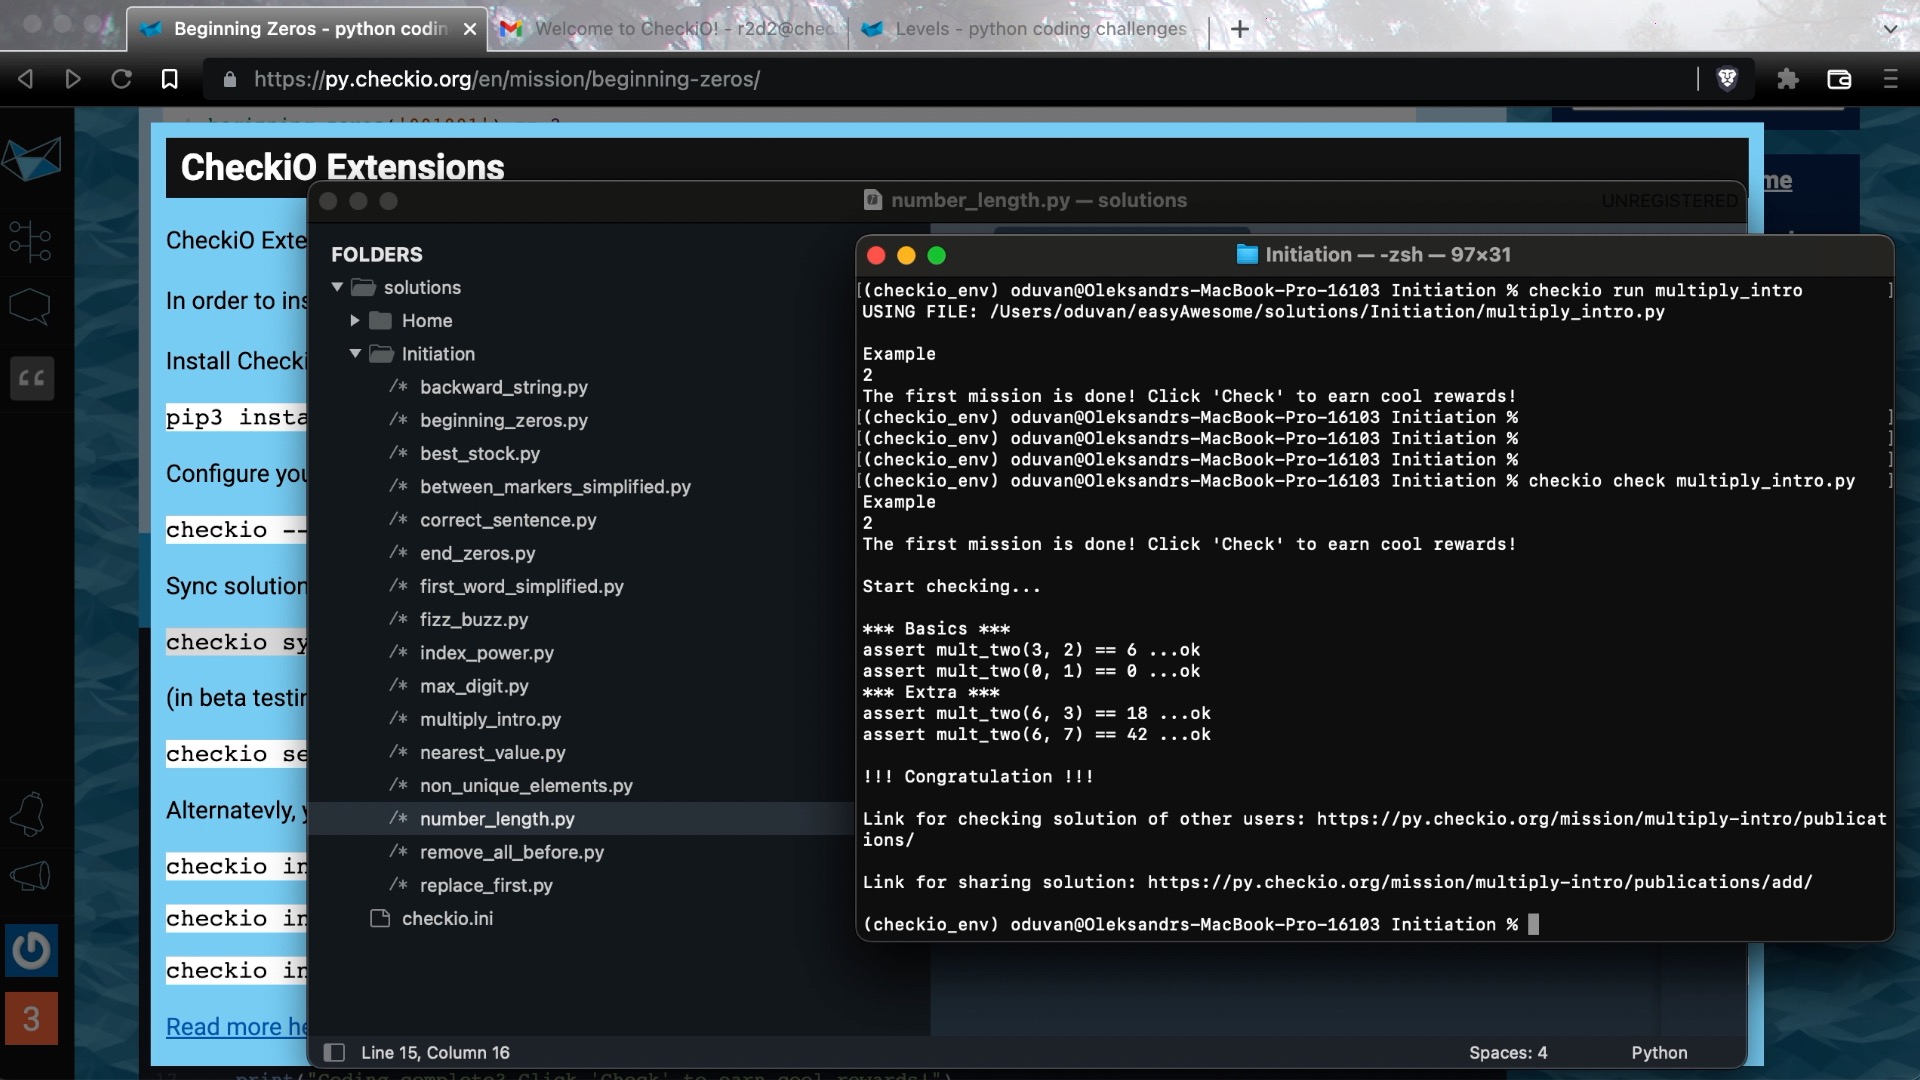
By executing the source file for running the code or with the check attribute - check the solution.
cd solutions/Initiation
./multiply_intro.py
You can check the solution using the mission slug. The client will find the file for checking in the sync folder.
./multiply_intro.py --check

Instead of slug you can use filename.
checkio check multiply_intro.py
I also want to show you how Checkio client can be integrated with the web code editor. The easiest way to do it is by launching Checkio server locally and reload the page.
checkio serv -d
(for windows
checkio serv)
Edit the source code, save it, and switch to the browser.
You can now see all of the changes applied in the web editor.
It works in both ways. Changes from the web editor will be applied to local files as well.
The Checkio client is configurable. “config show” shows you the current configuration. The “conf” indicates overwritten options.
checkio config show
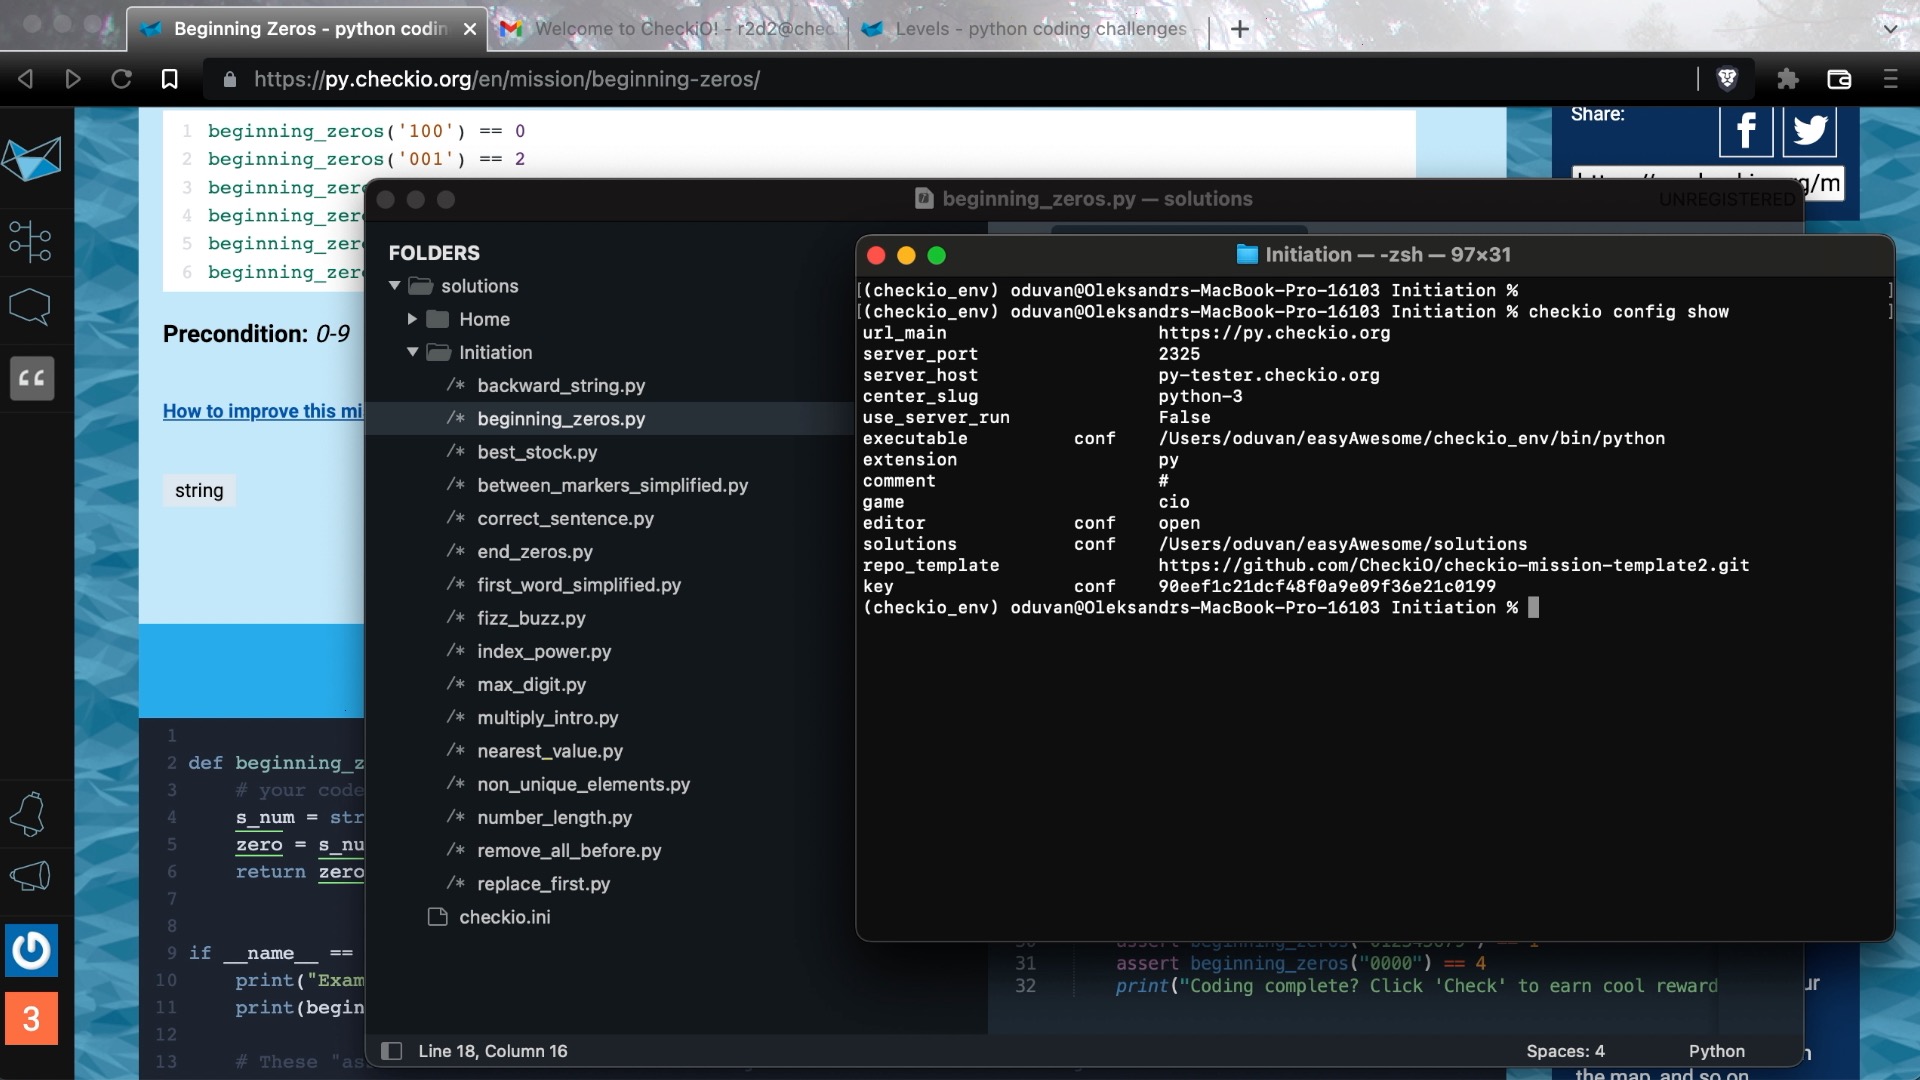
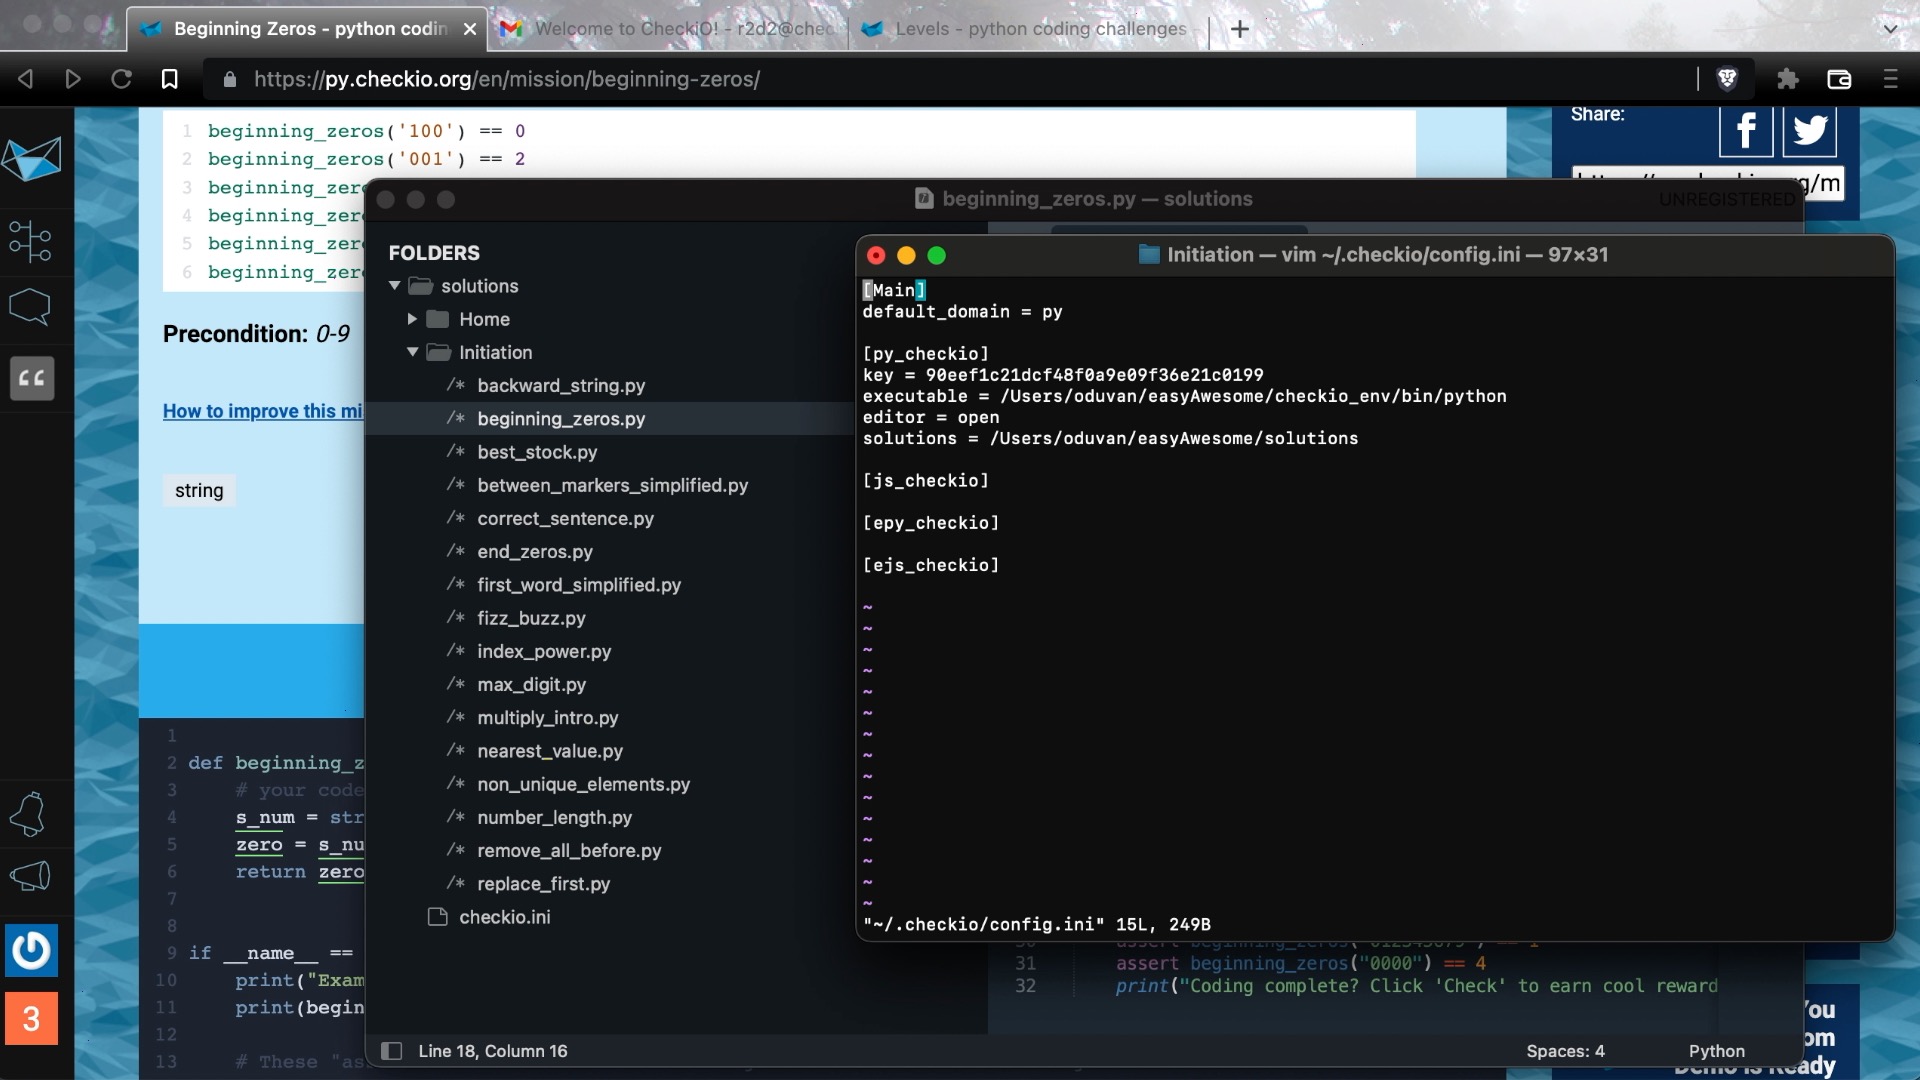
The configuration is stored in the config file in the home folder .checkio/config.ini . You can edit the configuration directly in the file or using command config set.
vim ~/.checkio/config.ini
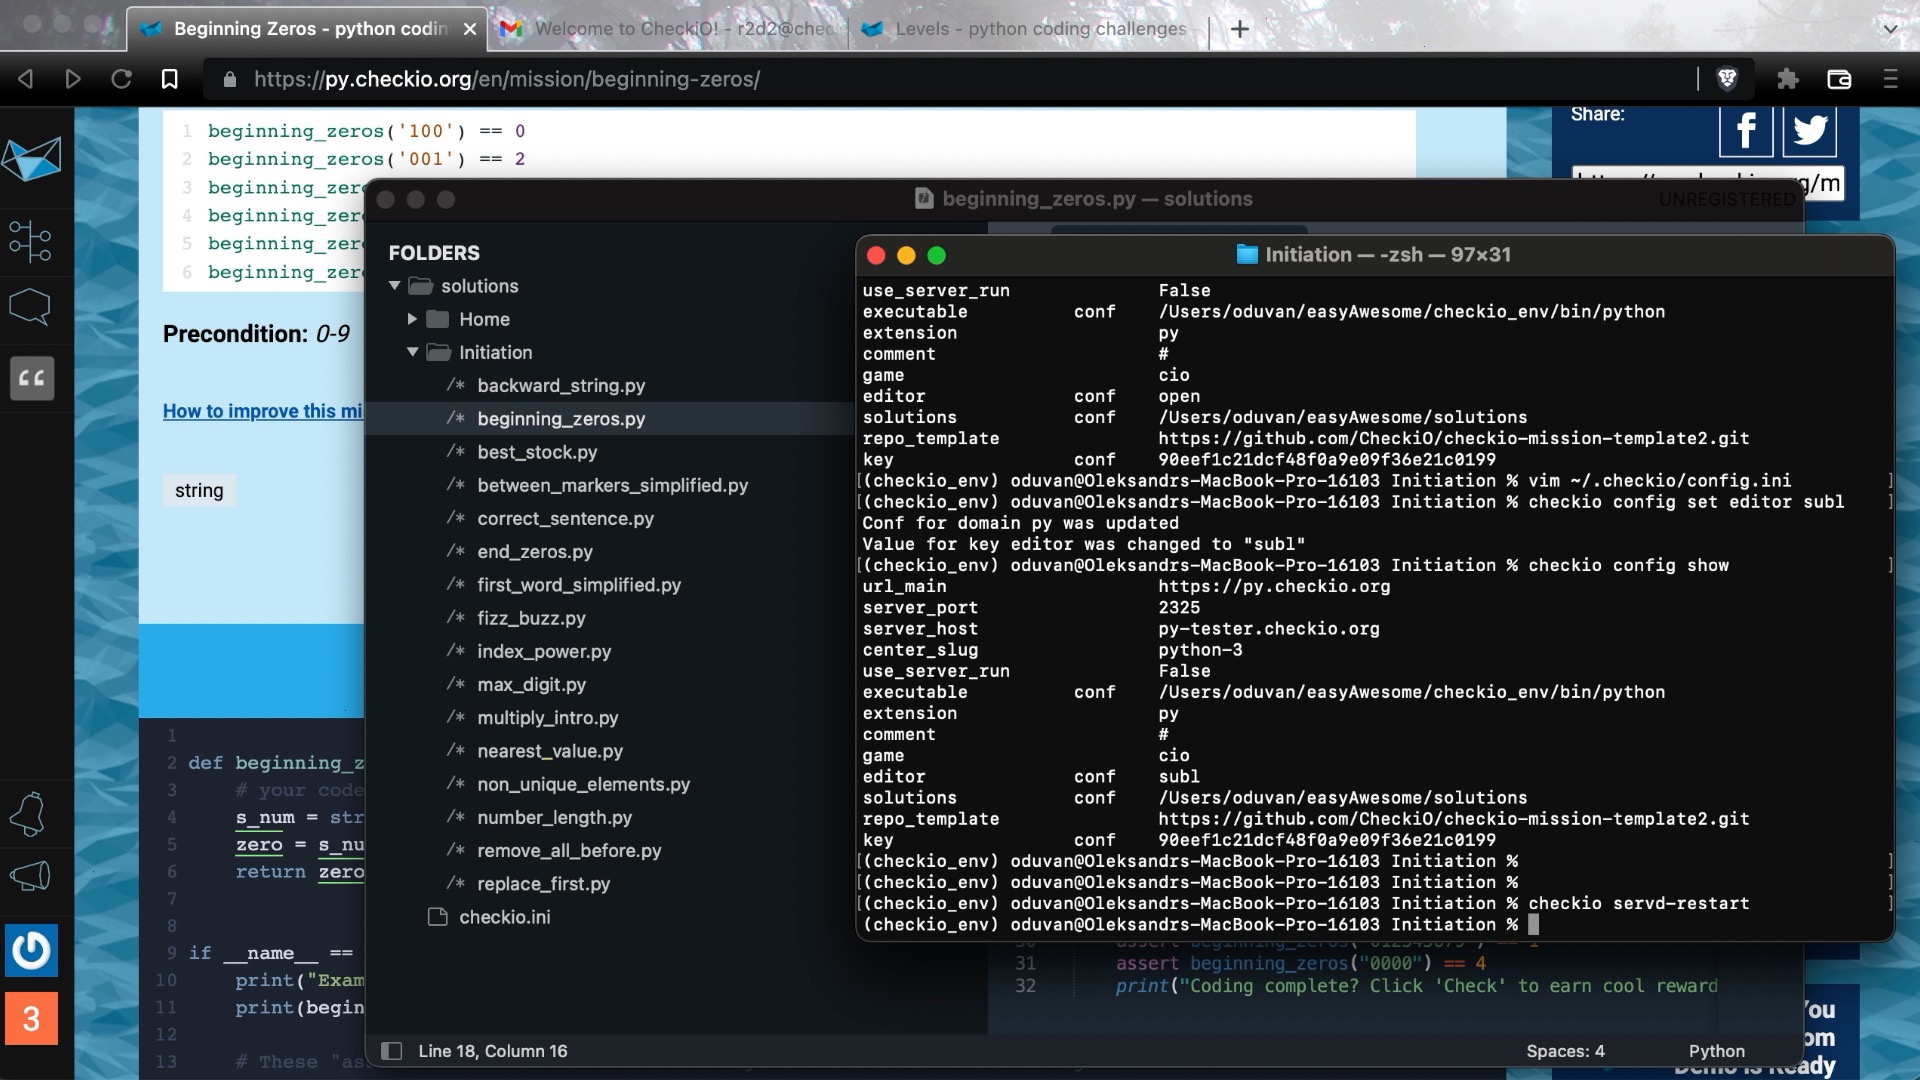
Let’s set up our favorite code-editor. I prefer to use a sublime text.
checkio config set subl
("subl" is my shortcut for sublime text, you can use any editor)

You can double-check the configuration to make sure the changes are applied correctly.
checkio config show
Restart the server to apply a new configuration.
checkio servd-restart
(for windows - ctrl+c in console where server is running)
Now let’s try to open a new mission, and as you can see in the right panel, we have a direct link to your local file. By clicking on which, you have the code editor opened with that file.
Even if you edit the solution without web editor, you are still able to sync your solutions with the server using the sync command.
checkio sync

That is pretty much it. Thank you for watching that far, I hope that was useful and.. Time to solve some cool missions. See you on CheckiO!
